How to Hand Sew a Seam
Seams are everywhere – in your clothes, curtains, car seats, and shoes.
A seam is a line where two pieces of fabric are stitched together. It provides structure, strength, and shape to your sewing projects. A seam is the foundation of any sewing project.
Before you start sewing a seam, gather the following tools:
Fabric – Choose the material you want to sew. Cotton is a great beginner-friendly fabric.
Needle and thread – Choose the correct needle and thread as per your project.
Thimble – To protect the finger from needle pressure.
Beeswax – To strengthen and smooth the thread and prevent tangling.
Pins or Fabric clips – To hold fabric pieces together before sewing.
Measuring Tape or seam gauge – To measure seam allowance accurately.
Scissors or rotary cutter – To cut fabric neatly.
Iron and Ironing Board – Pressing seams make them neater and stronger.
How to hand sew a seam:
Step 1 – Preparing the fabric
Prewash fabric to prevent shrinkage later, then iron it to remove wrinkles. Now, follow your sewing pattern or measurements. Ensure straight edges for easy stitching. Use chalk, or a fabric marker, to mark where you want to sew. This helps to keep your seam straight.
Step 2 – Cut the fabric pieces
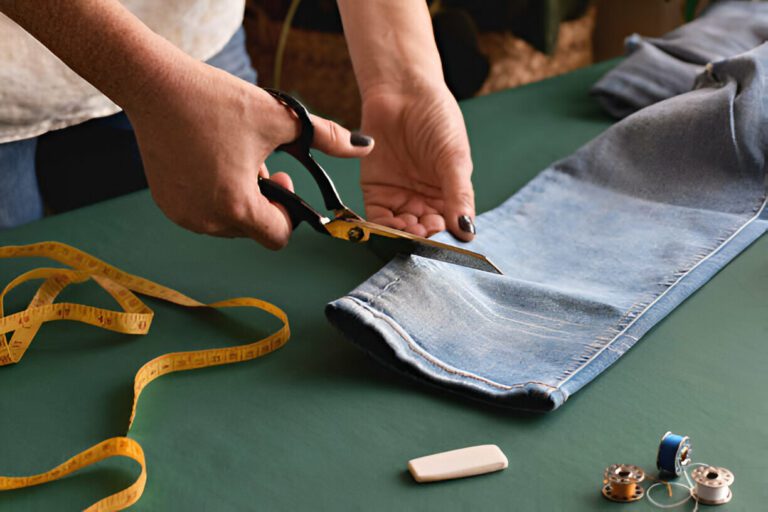
Measure and cut your fabric with sharp fabric scissors or a rotary cutter, according to your pattern or project dimensions.
Step 3 – Mark the seam allowances
The seam allowance is the extra fabric between the stitch line and the fabric edge which is important for durability and adjustments. Draw a line where you want to sew with chalk or fabric marker. The common seam allowance are-
½ inch or 1.3 cm is the standard for most sewing projects.
⅝ inch or 1.6 cm is common in garments, especially in commercial sewing patterns.
¼ inch or 0.6 cm is used in quilting and delicate fabrics.
Step 4 – Pin or clip the fabric together
Place the two fabric pieces together with the right sides facing each other (the right side is the visible side of the fabric). Pin or clip the edges along the seam line to keep them from shifting as you sew.
Place pins perpendicular (90-degree angle) to the seam line, so that it can be easily removed while sewing. Fabric clips are good for thick and delicate fabrics and make sure the fabric edges are perfectly aligned before sewing.
Tips—If you are sewing stretchy fabric, use ballpoint pins to avoid damaging the fabric.
Step 5 – Choose the right needle and thread
To achieve neat and durable stitches, using the right needle is essential. It comes in different types, each has a specific purpose. For example—sharp needles are general purpose suitable for most fabrics. Shorter needles are ideal for quilting or fine stitching. Embroidery needles have larger eyes to accommodate thicker embroidery threads and ballpoint needles are specially designed for sewing stretch knit fabric. For thicker materials like leather or denim, there are leather needles with sharp, triangular tips that are necessary to pierce through tough surfaces.
Choosing the right thread is equally important. Cotton thread is the best for lightweight fabrics, polyester thread offers durability and flexibility, and silk thread is excellent for sewing delicate materials without leaving visible stitch marks. Heavy fabrics like leather or canvas require nylon or waxed thread for added strength.
Step 6 – Basic Hand sewing stitches
The running stitch is the simplest and is commonly used for temporary seams, gathering fabric, or quilting. This stitch is created by weaving the needle in and out of the fabric in evenly spaced intervals.
The backstitch is known for its strength and is useful when sewing durable seams. It involves making a small stitch forward and then bringing the needle back slightly behind the previous stitch to form a continuous, strong line.
The whipstitch is used for hemming or joining two fabric’s edges together by looping the thread around the edges in diagonal stitches.
In the case of an invisible seam, the slip stitch is the best, as it creates nearly invisible stitches for hidden hem or linings.
The blanket stitch is useful for finishing fabric edges and preventing fraying. This stitch is commonly seen in applique work or blanket edging.
Tips- Use double-threaded hand stitching for extra strength.
Step 7 – Process of hand sewing
Thread the needle by cutting a manageable length of thread, between 18-24 inches to prevent it from tangling. Knot the end of the thread to secure it before sewing. Begin stitching from the fabric’s wrong side to hide the knot, ensuring that the first still will be secured.
Choose the appropriate stitch based on the type of seam required and maintain even stitch lengths for consistency. Once the seam is completed, secure the end by making a few backstitches in place and tying the knot. Finally, trim any excess thread and press the seam with an iron to ensure a neat and professional finish.
Tips –
Use short and even stitches that result in a strong seam. Avoid excess thread tension to prevent fabric puckering. Proper lighting is required to see stitches clearly and ensure accuracy. Keeping a relaxed hand while stitching improves control, especially for decorative stitches. Beeswax can be applied to the thread to prevent tangling and strengthening it. Practicing different stitches on scrap fabric before working on the final project will help to improve technique and confidence.
When to choose hand sewing
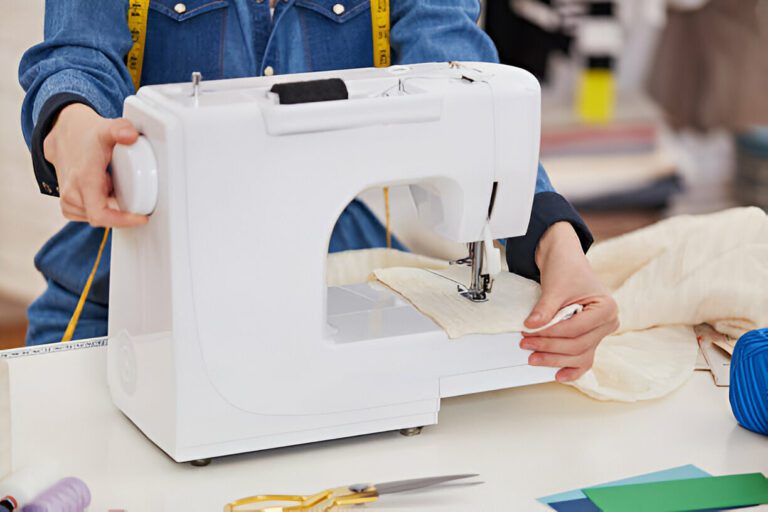
Although sewing with sewing machines is a speedy process. But the delicate fabrics that may stretch or tear under a machine needle are safer to sew by hand. In cases where machine sewing is not practical, like while traveling or marking minor repairs, hand sewing is a convenient alternative.
CONCLUSION
Hand sewing is a fundamental skill that provides versatility, precision, and control over small or delicate sewing projects. By following these steps—preparing your fabric, marking the seam allowance, pinning, sewing, pressing, and finishing. You will create strong and professional-looking seams every time. Also by learning different stitches, choosing the right materials, and using the right tools, you can master the art of hand sewing. Whether repairing a garment, hemming, adding decorative embroidery, or working with fragile fabrics, hand sewing remains an important technique.
