9 Reasons Why Sewing Machine Needle Keeps Breaking- Let’s Fix Them
When I was studying fashion designing a few years back, one of the student’s sewing needles broke in the middle of the project and it was about to her eye when it happened and that’s when my teacher gave some important tips why the needle breaks down and how to avoid it.
Over the last few years, despite following her tips, my needles have broken down multiple times and I’ve found the right ways to fix it with my experience. If you are also facing such issues at the moment and stuck to completing a project, I’ll teach you how to prevent it from happening in this guide.
1. Use the Right Needle
Sewing needles come in various point types such as ballpoint needles, universal needles, stretchy needles etc and they have different thickness; 70/10, 80/12, 90/14. Using them incorrectly for a fabric will put even pressure and it’ll eventually break.
For example, once I used the 80/12 ballpoint needle good for thick denim and it broke down in the middle of the project. Since then, I’ve been careful about the right selection of needle for my projects.
2. Check the needle condition
If the sewing needle is breaking unexpectedly on a regular basis, it is worth taking a closer look at it. Just place it on a flat surface and it’ll give you a fair idea about its condition.
A rule of thumb is, use a fresh needle from the pack for a new project and change it every 8-10 hours of sewing. I’ve followed this rule for many years and advice the same to others as well. Like every other thing, it gets dull after every use and it needs to be replaced for a smooth sewing.
Sometimes, even manufacturers could provide you with a weak needle and it may break suddenly. Just replace it with the good one and you can resume sewing immediately.
3. Insert the Needle Correctly
An incorrectly placed needle is another main reason for breaking it. In most home sewing machines, the flat part should face towards you and the curved (rounded) on the back side.
Next, you need to make sure the needle is pushed all the way up and tighten the clamp properly. A loose needle will wiggle while sewing and eventually it’ll snap quickly.
4. Check Upper Thread Tension
The type of fabric and its weight plays an important role while selecting the tension on your machine.
Applying the right tension on the upper thread is equally important to prevent the needle breakage. If you are sewing a thin fabric, try lowering the tension between 1-3 and check how the needle performs.
5. Use The Stitch and Throat Plate
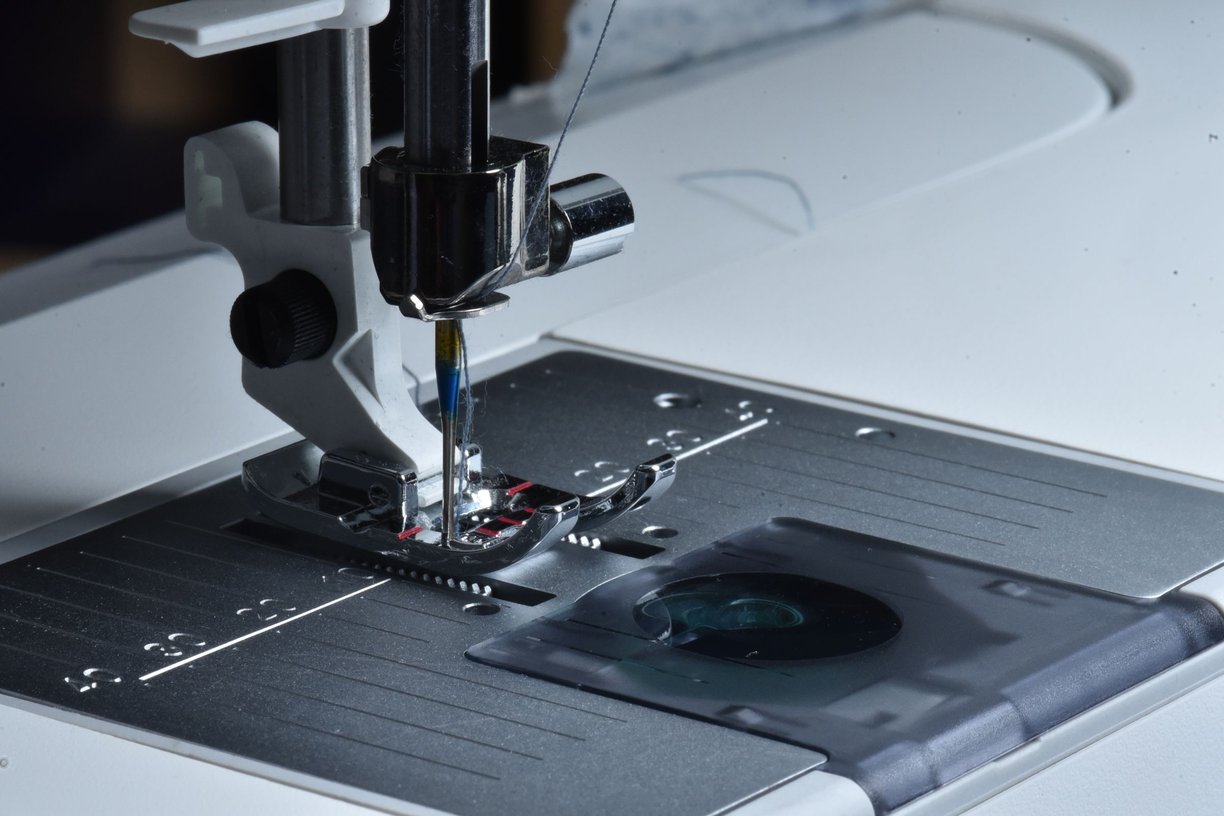
If you have selected a zig-zag stitch in the machine and used the single hole throat plate, the needle will move sideways and it’ll snap immediately. Always double-check both of these things before you start sewing. Honestly, I can’t remember how many times I’ve made this mistake while managing bulk projects and still I make this error occasionally. Just double checking these two things will prevent snapping the needle.
6. It’s time to evaluate underneath
Unscrew the needle plate and identify the issue by taking a closer look underneath.
First, I remove the dust with a small brush and then ensure that the needle isn’t touching the bobbin case or change the bobbin if I have used an incompatible one by mistake. If you haven’t cleaned your machine before, send this over to a professional and they’ll help you do it for a small fee.
7. Pulling the fabric
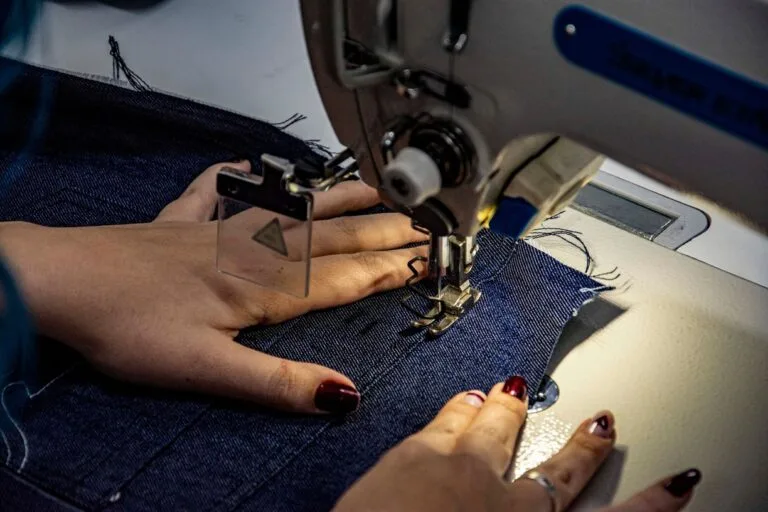
Like most beginners I would pull the fabric unknowingly and have broken multiple needles. My mentor noticed it and taught me the art of guiding the fabric instead of pulling and let the feed dog do the work of pulling the fabric automatically.
For those who are unaware, a feed dog is the small metal teeth located beneath the presser foot and needle plate on a sewing machine.
8. Check the needle screw
A loose needle wiggles while sewing and there is a high probability of breaking it. Many sewing machines let you tighten the needle with just your hand whereas some of them require you to use a screwdriver for a firm grip. I highly recommend you use the screwdriver to ensure that there is no wiggle to prevent the snapping of the needle.
9. Check for pins
Many people use a pin while sewing such for holding pattern pieces in place, anchor seam allowances etc and I do the same however, I pay close attention while doing so and make sure I don’t sew directly into the needle.
FAQs
1. What is the most common cause of needle breakage?
Most common causes are; using a wrong needle for the particular fabric, using the bent needle, inserting it the wrong way and applying the wrong tension in the sewing machine.
2. How to fix sewing machine needle breaking?
Ensure you are using the correct needle for the fabric, install or replace it by pushing all the way up, use the right stitch for the fabric and do not pull the fabric while sewing.
3. How long should a sewing machine needle last?
A good needle would last about 8-10 hours of sewing and you must change it after that.
4. Is it common to break a sewing needle?
Yes, it is very common for most beginners however, professionals follow the right approach to prevent it from snapping on a regular basis.