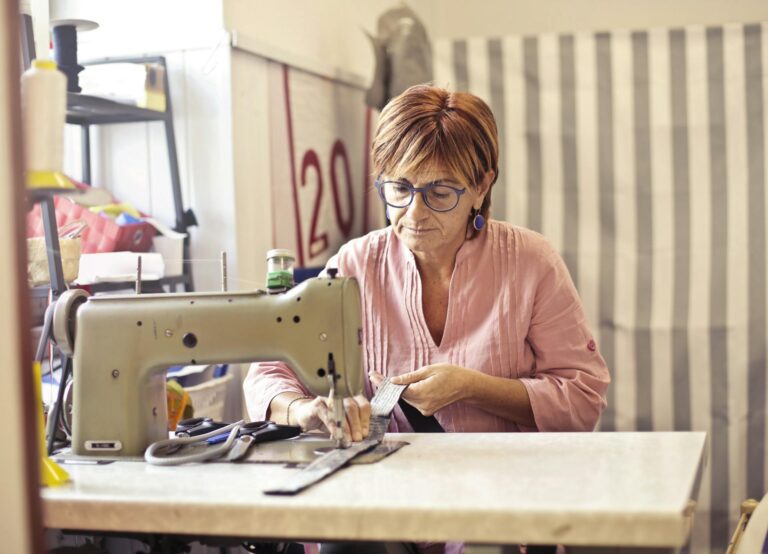
How to Change a Needle on a Sewing Machine?
Without a needle your sewing machine is like a car without wheels, it’s going nowhere!
This sewing machine needle change guide will help you fix, quickly and safely, even if you are a beginner.
The needle is the BFF (best fabric friend) that pierces through fabric and thread, giving a beautiful result, you get the idea. Let us first understand know first why the needle is crucial:
- Fabric penetration – The needle smoothly pierces through the fabric layers, making sewing easy.
- Thread delivery – The needle carries thread through loops and stitches, creating a beautiful strong bond.
- Stitch quality – A good needle ensures consistent, professional-looking stitches.
A needle is like a “double-edged sword” having positive and negative results. Here are some common ways to get into trouble with the sewing machine needle:
- Broken or bent needle – Forgetting to change a dull or damaged needle, can lead to poor stitch quality, fabric damage, or even machine breakage.
- Incorrect needle size – Using a needle too small or too large for your fabric can cause problems like skipped stitches, fabric tears, or thread breakage.
- Needle not suited for the fabric – Using a needle designed for one type of fabric on a different type can lead to poor results, like puckering or distortion.
- Not securing the needle – Falling to insert the needle properly can cause it to become loose during sewing, leading to accidents or machine damage.
I once forgot to change my needle after sewing through thick denim. The next project was a delicate silk fabric. Ah … a costly mistake! The dull needle caused poor stitches, and I had to redo the entire project.
Advice – If you take care of a sewing needle. It will take care of your sewing projects.
Why Needle Changing Matters Today (2025)
With the rising popularity of upcycling, embroidery, and sustainable fashion in the USA, knowing how to change the needle is more than just machine maintenance; it’s a crucial step in modern sewing success.
There is no rocket science in replacing the sewing machine needle. In a few easy steps, you can do it yourself like a pro. Before you dive in, gather a few tools which are needed during the changing process:
- Sewing machine manual – You should have the manual ready for any machine-specific instructions.
- New needle – Choose the correct needle for your fabric.
- Small screwdriver – Some machines have a screwdriver or tool to loosen the needle clamp.
- Brush – For quick maintenance while changing the needle.
Recommended Kits for Needle maintenance:
- Singer Needle Replacement Kit (great for beginners).
- Brother Sewing Machine Maintenance Kit (includes brush, screwdrivers, and more).
These kits simplify the needle change process and are easily available online.
Detailed steps for how to change the needle:
- Turn off the sewing machine
Safety first! Always turn off your sewing machine before changing the needle.
Reason – This precaution ensures no accident if by mistake the foot pedal is pressed while your hands are near the needle. - Raise the needle and presser foot
Turn the handwheel near you to raise the needle to its highest position. Also, lift the presser foot.
Reason – This provides more space to access the needle and makes the task easier.Advice – I often lower the feed dogs (the teeth under the fabric that help to move it) to avoid the fabric accidentally shifting. - Loosen the needle clamp
The needle clamp screw is located on the right side of the needle depending on your model type with the help of a small screwdriver to loosen it. Just loosen the screw so that the needle can slide out.
Reason – Over-tightening or forcing the screw can damage it, so be gentle.Advice – Place a piece of paper or scrap cloth piece beneath, to stop accidentally falling the needle inside the machine. - Remove the old needle
While your one hand is on the clamp screw use the other hand and carefully pull the needle down and out of the machine.
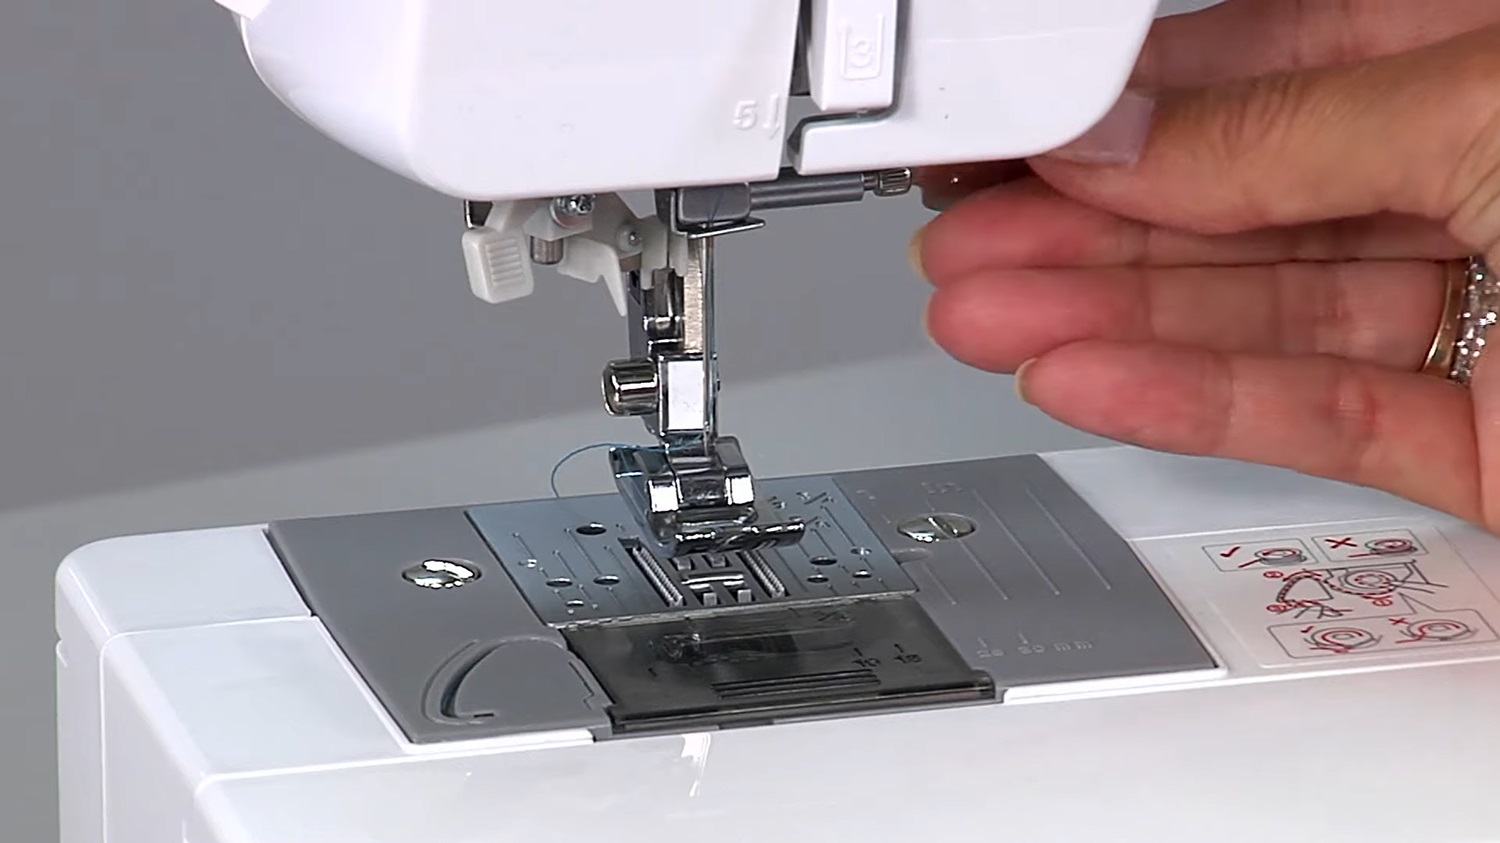
Reason – To keep track of your needle.Advice – It is a good habit to dispose of the old needle. - Insert the new needle
The needle has a flat side and a rounded side. Make sure the flat side faces the back of the machine. Insert the needle far up till it goes.
Reason – To properly sit in the clamp.
Advice – Consult your manual if your machine has different needle placement Settings. - Tighten the needle clamp
Once the needle is in position, tighten the clamp screw securely but not too tight.
Reason – Ensure the needle won’t move during sewing.
Advice – If the screw is not enough tightened then the needle become loose while sewing. Resulting in skipped stitches or misaligned stitches. - Test the needle
Before you start sewing, turn the handwheel a few times to check whether the needle is moving smoothly.
Reason – If there is any obstruction, recheck the needle is installed correctly.
Advice – When satisfied, turn the machine back on and do a few test stitches on a scrap fabric. In my early days, I didn’t realize how important it was to match the needle size to the fabric type. So let us know how to choose the right needle to avoid issues during sewing.
Avoid Common Mistakes:
- Using the wrong type of needle for the fabric.
- Failing to tighten the needle clamp screw properly.
- Not replacing the needle after fabric snags.
- Re-inserting a bent needle
Always consult your machine manual, double-check the needle type, and use fresh needles for each major project.
Knowing the types of sewing machine needles is just as important as knowing how to change them. In my early days, I didn’t realize how important it was to match the needle size to the fabric type. So let us know how to choose the right needle to avoid issues during sewing.
- Universal needle – Good for most fabric. Generally used for everyday sewing projects.
- Ballpoint needle – They do not pierce the fibers but slide between them. Designed for the knit fabrics.
- Denim needle – Perfect for thick fabrics like denim or canvas.
- Quilting needle – If you are working on quilts, these are extremely important for handling multiple fabric layers. Using the right needle makes sewing much easier and you will notice the difference in the stitch quality and finishings.
Self-experience tips for smooth needle changes:
- Stay organized – I keep a small box labeled with different needle types and sizes to keep me quickly grabbing the correct needle for the fabric I am using.
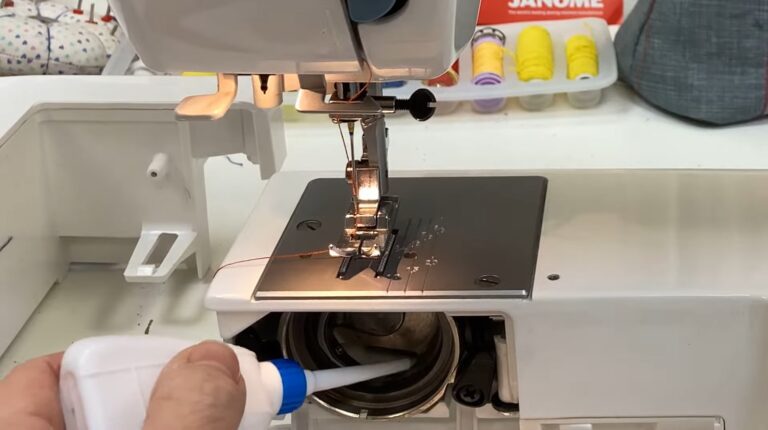
- Regular cleaning – I take a moment to dust out the bobbin area and the machine’s needle plate while changing the needle. This keeps my machine running smoothly and helps to prevent lint.
- Keep spare needles – Always have a variety of needles on hand. It saves time and frustration when you can easily replace a needle instead of running to the store in mid-project.
Good sewing machine maintenance habits can extend your machine’s life and improve performance.
Needle changing in sustainable sewing and upcycling projects:
Changing needles regularly ensures cleaner seams, reduces skipped stitches, and protects delicate recycled fabrics. If you are repurposing old clothes or experimenting with eco-friendly materials, using the correct needle is essential.
FAQ:
1. How often should I change my sewing machine needle?
Ans- It’s recommended to change your sewing machine needle after every 6-8 hours of sewing, or at the start of each new project. Regular replacement ensures optimal stitch quality and prevents potential fabric damage.
2. What are the signs that my needle needs replacing?
Ans- Indicators like skipped stitches, uneven stitching, fabric puckering, or hearing a “popping” sound as the needle penetrates the fabric. These signs suggest the needle may be dull or bent.
3. Can I use the same needle for different fabrics?
Ans- Some universal needles work across various fabrics. But it’s best to match the needle type and size to your specific fabric to achieve the best results.
4. How do I know which needle size to use?
Ans- Needle sizes are chosen based on the thickness of your fabric and thread. For example, a 70/10 is ideal for light fabrics like silk or chiffon, while a 90/14 works well for medium-weight fabrics like cotton or linen.
5. Are there different types of sewing machine needles?
Ans- Yes, there are various needle types, including universal, ballpoint, stretch, denim, and quilting needles. Each is designed for specific fabrics and sewing techniques.
6. Does needle orientation matter when inserting it into the machine?
Ans- Yes, most home sewing machines require the needle’s flat side to face the back. However, always refer to your machine’s manual, as orientation can vary between models.
7. What happens if I don’t change my needle regularly?
Ans- Using a dull or damaged needle can lead to poor stitch quality, fabric damage, thread breakage, and even potential harm to your sewing machine. Regular needle changes are essential for better sewing performance.
8. Do sustainable or organic fabrics need special needles?
Ans- No, but using the right type and sharpness helps protect their natural fibers. For delicate organic cotton, use a fine universal needle.
9. Can I reuse needles for embroidery on recycled garments?
Ans- You can, but it’s not recommended because recycled fabrics may contain hidden wear, stiff textures, or mixed weaves. For embroidery, use a fresh embroidery needle to avoid skipped stitches and thread breakage.
10. How do I prevent skipped stitches on old denim while reworking?
Ans- Use a new denim needle (size 100/16 or 110/18). Choose quality thread like polyester or heavy-duty cotton. Set your machine to a longer stitch length (3 mm) and don’t pull the fabric manually. Let the feed dogs do the work.
Conclusion
Changing a sewing machine needle is a small but essential skill that sewers should know.
Replacing the needle not only improves sewing quality but also extends the life of the machine. Whether you are working on a delicate lace dress or a denim jacket, having the right needle in place ensures smooth professional-looking results every time.