How to Embroider with a Sewing Machine? (2025 Beginner to Pro Guide)
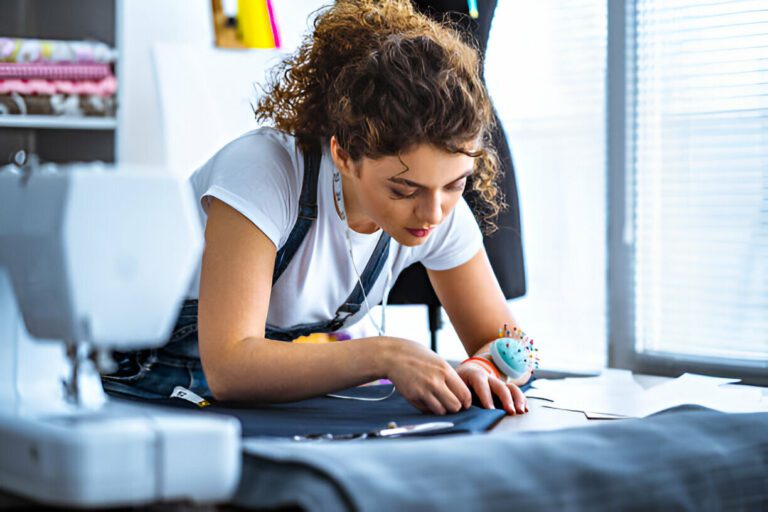
“Embroidery” makes every craft and even simple clothing very special. When I started my career as a sewist, I thought of giving my projects a special effect by doing unique designs on my regular sewing machine. So my journey of exploring embroidery started. In this article, I will explain all my expertise in embroidery styles, stitches, and the process.
Today, machine embroidery is not just for professionals; even hobbyists can create designs easily at home, making every project more personal and unique.
Latest Embroidery Trends, 2025:
Embroidery is constantly developing with fashion and technology. Some trends of 2025 include:
- Sustainable Practices- Eco-friendly threads and organic fabrics are becoming favourites for embroidery lovers.
- 3D Puff Embroidery- Raised, bold designs are trending, especially on denim jackets, sneakers, and backpacks.
- Smart Textiles- Interactive embroidery with conductive threads is a fresh trend blending tech and fabric.
- Customization- Personalised initials, names, and more designs are highly demanded in modern embroidery projects.
Before knowing how to embroider, we must know “what is embroidery?”
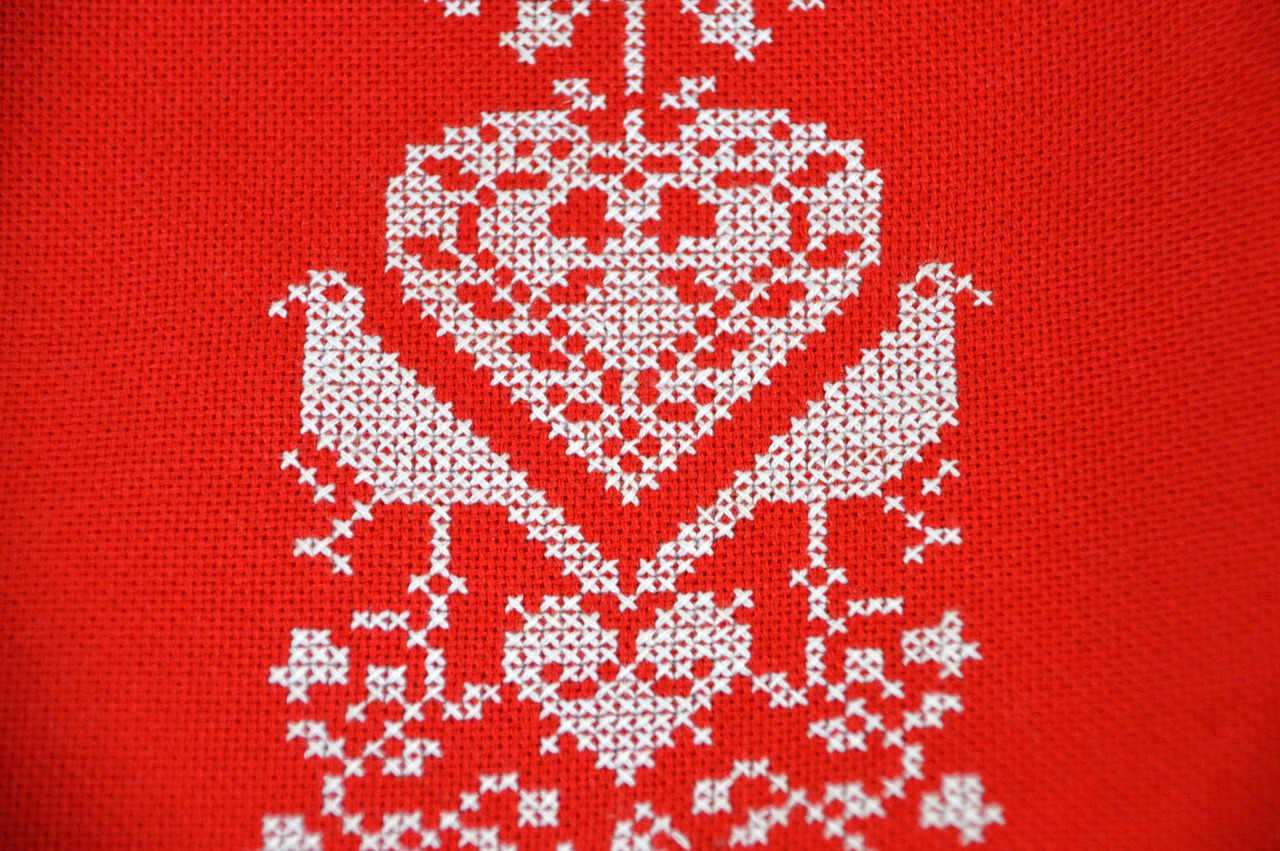
It is the art of creating decorative patterns on fabric by using various colored threads, either by hand with a needle or by a sewing machine.
Is embroidery possible with a regular sewing machine? Yes, not only it is possible but also as simple as tracing a design on a stabilizer or drawing a line with the needle as done with a pencil. You can also make the design a bit complicated with your style. For doing so here is the list of items you need to spice up your design.
- Your regular sewing machine
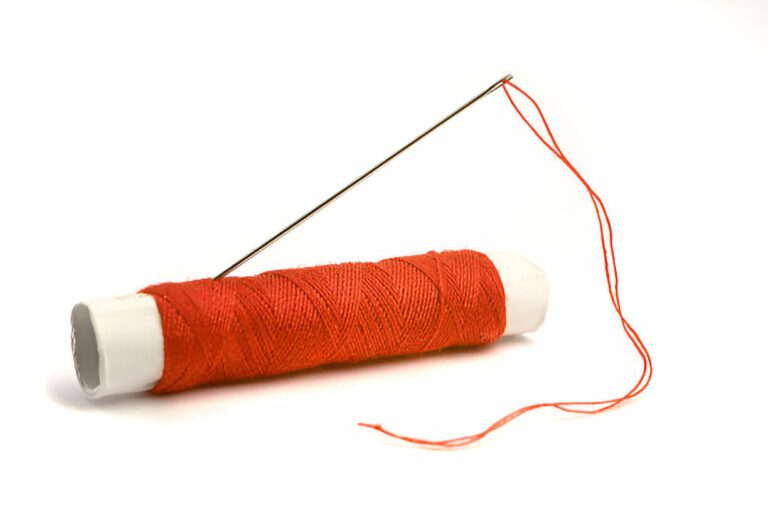
- Needle
- Water soluble stabilizer
- Tear away stabilizer
- Pencil marker
- Color thread
- Hoop
- Glue stick
- Stitching foot
- The project you are working on.
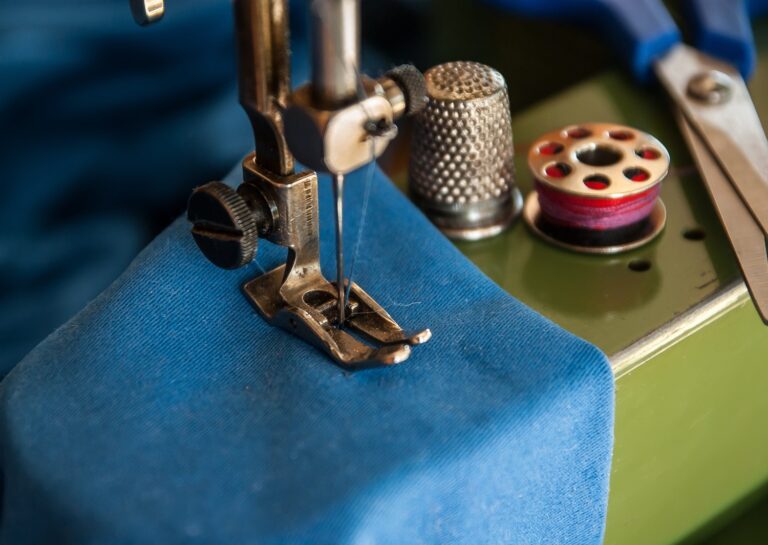
Your regular sewing machine: Check your machine is in perfect condition. Always clean and oil your machine for better performance.
Note: If you oil your machine just before starting an embroidery project, make sure to wipe off any excess oil and run a test stitch on a spare cloth to ensure no oil residue remains, This step will help prevent damage to your embroidery work.
Needle: Use the needle depending on your fabric.
Note: Always use thin needles for delicate fabric and thick needles for thick or heavy fabric.
Water soluble stabilizer: Used for designs that are delicate and tend to damage the project if tiered. It can be washed out at the end of the project.
Tear away stabilizer: Used for sturdy fabric like cotton, and linen with embroidery that is too dense with stitches.
Pencil marker: To trace the design or pattern of the project.
Note: I prefer a light-shade marker pencil so that the extra tracts can be removed easily.
Color thread: Select the color shade of your choice. Preferably contrast color will give a better look to the embroidery. Use rayon thread for a better finish.
Note: On a piece of scrap from the project, stitch the shades of thread you have selected, it will give you a perfect preview of the design.
Hoop: Used for fixing the fabric firmly in the frame so that you can move your embroidery project freely while stitching.
Note: I always use a wooden hoop for maintaining fabric tension equally throughout the process for better grip.
Glue stick: To stick the tracing paper temporarily, while tracing the design on the fabric.
Stitching feet: I recommend these three stitching feet for embroidery.
- Straight stitching foot – Best for fine straight lines and simple designs.
- Clear applique foot – Helpful when you want to see the fabric clearly while sewing.
- Free motion embroidery foot – Needed for full free-motion embroidery freedom.
Machine embroidery is the design made by using a sewing machine with colored threads. Mainly divided into two main categories:
- Free motion embroidery
- Computerized embroidery
With a regular sewing machine, the only possibility is free-motion embroidery. It is classified into a large variety of stitch techniques. Among them, the most commonly used techniques are:
- The straight stitch.
- The zig-zag stitch.
Note: Most basic sewing machines have several styles in their stitching mode nob, you can select different styles to create your unique design.
New Techniques Shaping Embroidery Today
Besides straight and zigzag, modern embroidery styles include:
Mixed Media Embroidery: Combining fabric paint, patches, beads, and even LED lights with embroidery to create artistic, multi-dimensional designs.
Minimalist Line Art Embroidery: Clean, continuous line designs stitched onto neutral fabric backgrounds are highly popular, especially for home decor.
Storytelling Embroidery: Creating small scenes or narratives through thread art is a rising trend, especially for personalised gifts.
The project you are working on: Now it is time to choose the project you want to work on.
Note: Always start with a simpler project with less complicated work.
Modern Tools for Advanced Embroidery Techniques:
Eco-friendly threads: Recycled polyester and organic cotton threads are now widely available for sustainable embroidery.
Modern Machines: Advanced embroidery machines with multi-needle features and automatic color-changing options can make large projects easier and faster.
Remember- A basic sewing machine (single needle) can still do most designs with skill, even though multi-needle machines are faster.
Embroidery Software: Software like Hatch Embroidery, Brother PE designs, and free online design converters allow you to create and digitize your patterns effortlessly.
Steps for doing embroidery with your sewing machine:
- Lowering the feed dogs
- Thread the machine
- Putting the bobbin
- Fix stabilizer
- Trace design
- Use a hoop
- Select stitch mode
-
Lowering the feed dogs
For free motion embroidery it is a must to lower the feed dogs. Depending on the model the process may differ. Some machine has special darning plates to cover them whereas others have the option lever to lower the feed dogs. Please follow the user manual of your machine.
-
Thread the machine
Use rayon thread for embroidery it will give a perfect and smooth finish to the project. Other threads also can be used, like cotton or polyester, if rayon is unavailable. Thread the machine and check the tension of the thread, It should not be very tight or very loose, in both cases the finish of the embroidery will be compromised. Adjust the stitch length if needed for smoother designs.
Note: Adjust the tension of the thread by sewing on the scrap of the same material you are working on.
-
Putting the bobbin:
You can use any thread in the bobbin, but ensure it is fully wound. It is a good idea to use threads that are not going to be used for anything else. Same as the upper thread you need to check the bobbin thread tension. It should be similar to the top thread tension for even stitches.
-
Fix stabilizer:
Stabilizers are used to give fabric a firm base to prevent puckering. There are different types of stabilizers:
- Tear away: which is torn off after the embroidery is done.
- Wash away: which dissolves in water once dipped after the embroidery is done.
- Cutaway: This needs to be cut after the embroidery is done.
Place it beneath the fabric and press it using iron.
Note: Depending on the fabric and the area select the stabilizer.
-
Tracing design:
Select the design of your choice, draw it with a black marker pen or take a printout. Trace outlines lightly to avoid permanent marks. Place it under the fabric, hoop the fabric tightly and carefully draw the outline with a pencil. Now the fabric is ready to be sewn.
Tips- Use a light table or a window as a tracing light source for easier tracing.
-
Use a Hoop:
It sounds basic, yet very important an embroidery hoop is required for machine embroidery. It not only prevents the fabric from puckering while embroidery is done but also gives you a nice grip to move the project freely the way you want from side to side and along curves.
Note: Place the outer hoop frame with the screw adjustment first on the fabric and then press in the inner hoop frame to tighten it.
-
Select the stitch mode:
I prefer straight stitch for outlining the design and use zig-zag stitch for fill up. First adjust the straight stitch style to the minimum, then pull the bobbin thread onto the surface by turning the hand wheel towards you. Start to stitch on the traced design very slowly. Once you gain control over the hoop turning increase the speed. When the whole outlining is completed. Change the mode to zig-zag and start to fill the design. Don’t worry if your first stitches are imperfect, practice will make your hand-eye coordination better.
Note: If you feel that the zig-zag has not been filled in properly, repeat it once again.
Embroidery is no longer just for traditional clothing. Today, it’s making old statements across various fashion trends.
Athleisure and Streetwear: Embroidered logos, icons, and custom patches are now common on hoodies, sneakers, and backpacks.
Luxury Fashion: High-end brands like Dior and Gucci are bringing detailed hand embroidery in their collections, blending traditional techniques with modern aesthetics.
Everyday Personalization: From denim jackets to tote bags, personalised embroidered initials or messages are a popular way for people to express their individuality.
FAQ:
1. Can beginners do machine embroidery?
Ans- Yes, with practice, patience, and by starting with simple designs, even beginners can create beautiful embroidery using a regular sewing machine.
2. Can you do embroidery with any sewing machine?
Ans- Yes, as long as your sewing machine allows you to lower or cover the feed dogs, you can do basic free-motion embroidery with it. Always check your machine’s manual for this feature.
3. What thread is best for machine embroidery?
Ans- Rayon thread is the most preferred because it gives a beautiful, smooth, and shiny finish. However, polyester and cotton threads can also be used.
4. What stitch is best for machine embroidery?
Ans- Straight stitch is the best for outlining, and zig-zag stitch is excellent for filling designs. Some machines offer decorative stitches as well.
5. How do you keep fabric from puckering during embroidery?
Ans- Using a proper stabilizer and hooping the fabric tightly helps prevent puckering. Also, ensure correct thread tension.
6. Can I embroider on stretchy fabrics with a regular sewing machine?
Ans- Yes, but use a stretch needle and stabilize the fabric properly with a stabilizer to avoid puckering.
7. What should I practice first before starting a real embroidery project?
Ans- Start practicing straight stitches and small curves on scrap fabric. Control your hoop movement and learn speed management before doing complex designs.
Conclusion:
Embroidery is a passion, if you are passionate about learning embroidery this guide will help you to become a pro. Remember- Lower your feed dogs, use stabilizers correctly, trace your design carefully, and practice your movement slowly. Soon, you will master machine embroidery.