How to End a Stitch on a Sewing Machine?
Ending a stitch seems like a small detail, but it is one of the most important steps in sewing. Whether using a sewing machine or sewing by hand knowing how to finish your stitches can make the difference between a project that lasts and one that unravels. Sometimes, you might also want to finish stitches by hand, especially for delicate or tricky areas, to ensure the work stays secure and neat.
In this guide, you’ll learn step-by-step methods to end stitches neatly using different sewing machine techniques, hand sewing tips, and professional finishing secrets.
Why does ending a stitch properly matter?
Think of ending a stitch like tying a knot at the end of a shoelace. Without it, everything can come undone. Ending a stitch properly ensures your work stays secure, looking neat and professional, no matter what you are sewing.
My first attempt at ending the stitch was a comedy of errors. I was so focused on sewing a straight line that I forgot to stop and just kept going right to the edge of the fabric and created a mess! In panic I hit the reverse button, thinking it would magically fix everything. Instead, there was a tangled knot of thread and fabric, that took forever to unravel. I had to start over again.
Lesson – Always end the stitch before the fabric ends.
So, let’s dive into some easy ways to end a stitch on your sewing machine:
Comparison Table
| Method | Best for | Difficulty |
| Reverse Stitch | Everyday seams | Easy |
| Tie-off thread | Delicate fabrics, no reverse | Medium |
| Lock Stitch Button | Modern machines | Very easy |
| Overlocking | Professional finish | Medium |
| Zig-zag stitch | No serger available | Easy |
Tools you may need:
- Sewing machine
- Thread
- A pair of scissors
- Seam ripper (for mistakes)
- Serger (Optional)
-
Reverse Stitch (Backstitching)
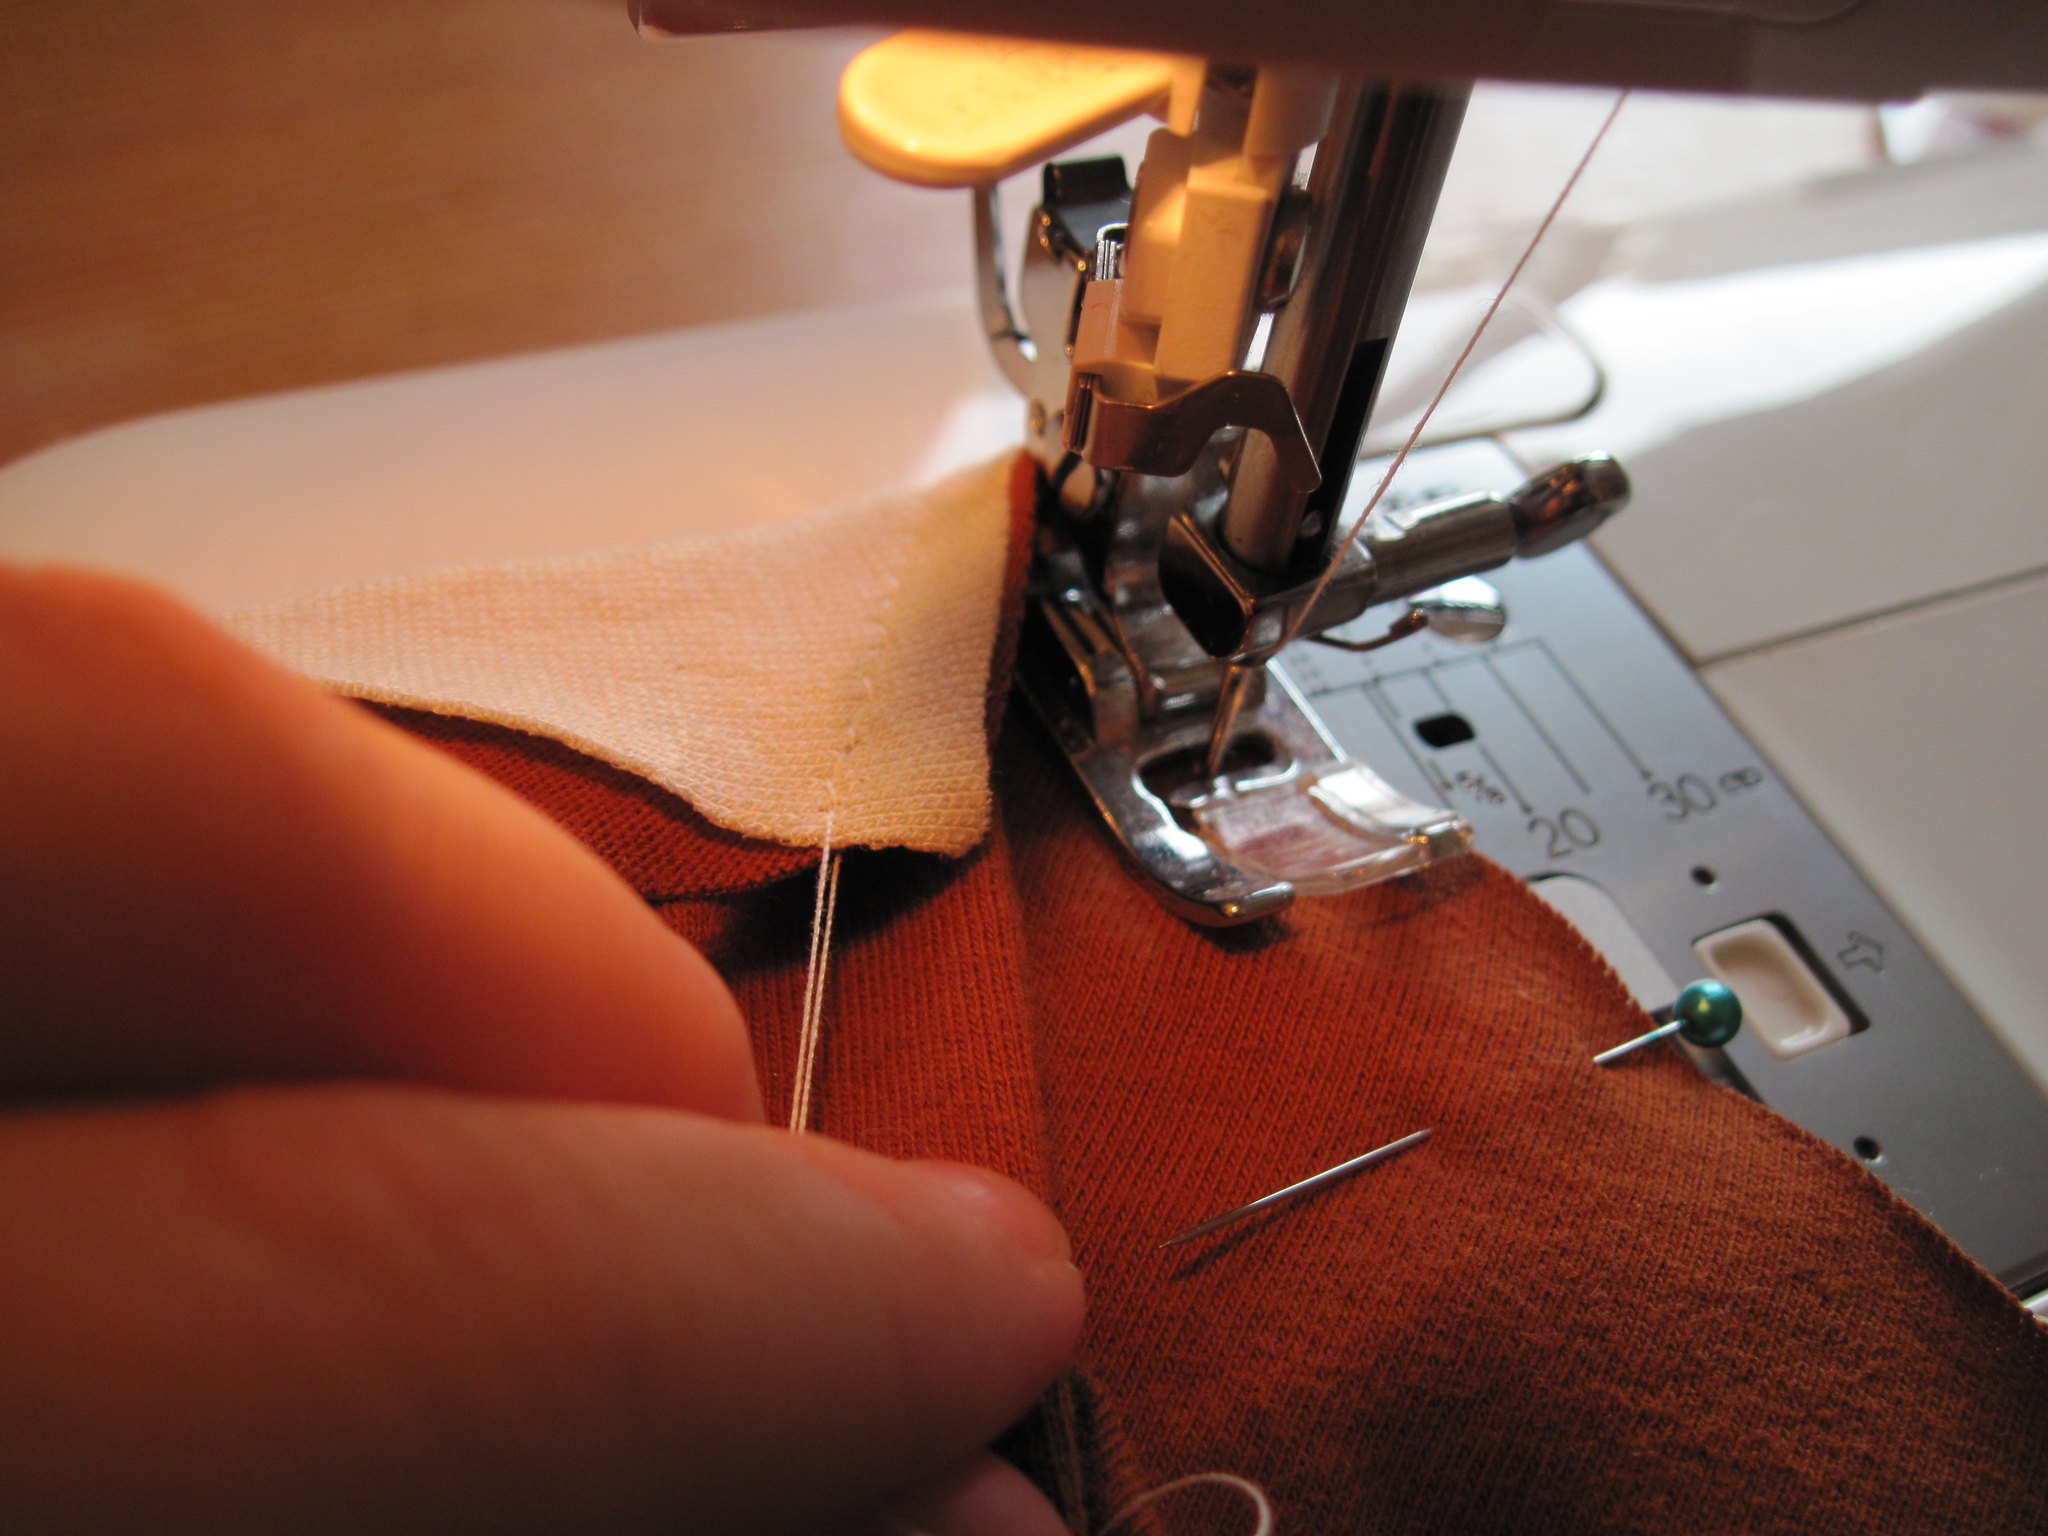
This is also known as back stitching. How it works? When you reach the end of your seam, stop sewing and remove your hands from the machine. Locate the reverse lever or button on your sewing machine. This lever is usually marked with an arrow pointing in the opposite direction of the stitch. Press the reverse lever or button and the machine will begin sewing in reverse. Sew 2-5 reverse stitches, depending on the fabric and seam type. Release the reverse lever or button, and the machine will return to its normal sewing direction. Cut the excess thread close to the fabric.
Advice – For heavier fabrics or thicker seams use more reverse stitches.
-
Tie off thread
Your machine does not have a reverse stitch, no problem! Then how it works? Once you reach the end of your seam, stop and pull the thread tail, use a pin or the endpoint of your seam ripper to pull all the threads to the wrong side and knot off the tails by creating a small loop. Use your fingers or a needle to make a small knot in the thread tail. Pull the thread tail gently to tighten the knot. Trim the excess thread close to the knot. It is an easy way to finish.
Alternative method – Sew 2-3 reverse stitches at the end of your seam or stitch.
Pull the thread tail to create a small loop. Pass the thread tail through the loop you just created. Then pull it gently to secure the knot. Trim the excess thread close to the knot.
-
Lock stitch button
The lock stitch button also known as the knot button or tie-off button usually, marked with a symbol or icon. It is a feature on many modern machines that automatically sew, a few reverse stitches to secure the thread at the end of your seam or stitch. Just press the button, and your work is secure.Advice – The lock stitch button is for most fabrics and seams, but manual knotting is preferable for delicate or stretchable fabrics.
-
Overlocking or Serger Finish
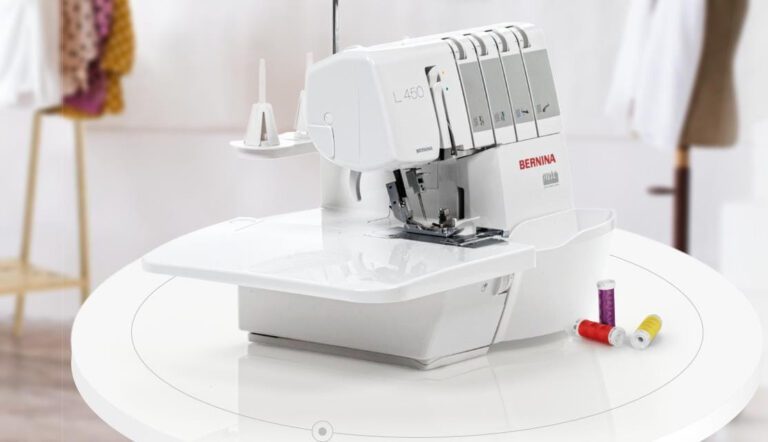
Place the fabric edge under the serger’s presser foot, aligning it with the edge guide. Ensure the fabric is smooth, flat, and wrinkleless. Now choose the desired overlock or serger stitch type.
Example – 3 threads, 4 threads, or 5 threads. Slowly begin serging the fabric edge, guiding it smoothly under the presser foot. Keep fabric tight but not stretched for a consistent stitch. After serging trim the excess thread close to the fabric edge.
Advice – Consult your user manual for stitch options and settings.If you have a serger, it trims the fabric edge and wraps it in a thread casing, making sure everything stays neat and secure.
-
Using a zig-zag stitch
A zig-zag stitch is another great way to finish the edge of your seam, especially if you do not have a serger. It helps to keep the fabric from fraying.
HERE’S HOW TO FINISH HAND STITCHES
If you prefer to hand-sew your projects or add extra security, here are easy hand-sewing methods to end your stitches neatly.
-
The classic knot
For ending a hand stitch with a classic knot hold the thread between your thumb and index finger. Use your other hand to make a small loop with the thread.Then, pass the thread tail through the loop you just created. Next, make another small loop with the thread, passing it through the first loop. Gently pull the thread tail to tighten the knot. Finally cut the excess thread.
Advice – Leave about 3 to 4 inches of thread tail.
-
The double back stitch
Backstitch over your last few stitches before tying the knot. This method is great for places for extra strength like buttons or hems.
Advice – The end stitch knot will be almost invisible if you use matching thread. -
Weaving a thread
Weave the thread through several stitches on the backside of your fabric before cutting it off. It keeps everything tidy and professional looking even when the back of the fabric might be seen.
Advice – This method is perfect for projects like embroidery where both sides might be visible. -
The loop and pull
It involves looping the thread around the last stitch and pulling it tight to create a Knot.If you’re not sure of the method discussed above, then practice on a scrap fabric first. This way you will know exactly what your project will be once you finish it.
Common Mistakes to Avoid When Ending Stitches
- Forgetting to backstitch, or tie off, causes stitches to unravel.
- Pulling the thread too tightly and puckering the fabric.
- Not trimming thread tails neatly, making the inside messy.
- Using the wrong technique on delicate fabrics can cause holes.
FAQ:
1. Why does my stitching come undone after sewing?
Ans- This happens when you forget to backstitch, tie off your thread, or properly secure the seam end. Always lock your stitches before trimming threads.
2. Can I end a stitch without using the reverse stitch button?
Ans- Yes, you can pull the thread tails to the back of the fabric and tie a secure knot by hand. This method is helpful for delicate fabrics or if your machine lacks a reverse option.
3. What is the best way to end a stitch on a sewing machine?
Ans- Use a reverse stitch (backstitch) at the end of your seam to lock the stitches securely.
4. How do you end a zig-zag stitch neatly?
Ans- You can either do a few back stitches at the end or tie off the thread tails by hand. A lock stitch button, if available, also works well for finishing zig-zag stitches.
5. Is a lock stitch better than a reverse stitch?
Ans- A lock stitch button creates a clean finish and is great for most fabrics. But for heavy-duty seams, manual reverse stitching is often stronger and more durable.
Conclusion
Whether you are using a sewing machine or finishing by hand knowing how to end your stitch properly will keep the work neat and secure. Remember sewing should be enjoyable so take time and try out the different techniques don’t be afraid of any of the little mistakes, as sewing is a creative process so do not stress if your first attempt isn’t perfect. After all every stitch is a step closer to your finished masterpiece, right?
