How to Hem Pants with a Sewing Machine? (Step by Step Guide)
Hemming is a simple yet vital process that can make a big difference in how your clothes look and feel. It can be – adjusting the length of the pants, dresses or skirts, hemming ensures your clothes fit just right. I bought a new pair of pants for my son, Ethan for his first day in school. However, they were a bit long and he might trip (stumble) while running around with his friends. To avoid this, I hemmed the pants with a sewing machine.
Learning how to hem pants with a sewing machine is a simple skill that can save time, money, and achieve a perfectly tailored look.
What does hemming ensure?
Your clothes fit perfectly which is key to your looking stylish and confident. Hemming is not just fixing, it’s also giving garments a longer life and reducing waste, whether they are thrifted or second-hand.
Before you start hemming pants at home, here are a few basic steps to make the process easier and more professional.
Quick Hemming Checklist:
- Wash and iron the pants to pre-shrink the fabric.
- Test your stitches on scrap fabric of the same type.
- Double-check the pants length while wearing shoes.
- Mark both pant legs carefully, one wrong fold can make it uneven!
Here’s why hamming is important:
- Perfect it.
- Professional look or presentable.
- Prevents wear and tear.
- Enhance comfort.
- Upgrade your wardrobe.
Is hemming difficult? Generally not difficult but “Yes” it needs a bit of practice. The level of difficulty can vary depending on the type of hem and the fabric you are working with, Like:
| Type of Hemming | Difficulty Level | Description | Examples |
| Basic Hemming | Easy | It is a straight stitch hem, is easy to learn, and is perfect for beginners | Straight stitch hem, double fold hem. |
| Blind Hemming | Moderate | It can be challenging because it requires precise folding and stitching so that the stitches are nearly invisible. | Blind hem stitch, slip stitch hem, an alternative to hand-stitched.. |
| Rolled Hemming | Moderate to difficult | It can be tricky because it involves rolling the fabric edge tightly and sewing close to the edge. | Rolled hem, lettuce hem—is usually done on stretch fabrics. |
| Hemming with stretchable fabrics | Moderate | Knit fabrics are challenging because the fabric tends to stretch and shift. | Coverstitch hem, zig-zag hem. |
Are you ready to learn how to hem pants like a pro?
We are here to guide you through it in a super fun and easy way!
- Get your tools ready
Make sure you have it all:
- Pants that need hemming
- Sewing machine
- The thread that matches your fabric (sometimes contrast also plays a vital role in uniqueness).
- Pins or clips to hold the fabric in place.
- Measurement tape for measuring the length.
- Iron and ironing board to press the hem.
- Pair of scissors to trim the extra fabric.
- Hemming tape is optional but super helpful.
Advice – Always check your sewing machine is set up correctly and has enough thread before starting.
- Calculate the measurement
To calculate the measurement for hemming pants, follow these steps:
- Decide the desired length – Put on your pants and measure how much you want to shorten it.
Note – You can use a pair of pants that fit well as a reference. - Measure the pant leg – Measure the length of the pant leg from the top of the waistband to the bottom of the hem.
- Calculate the hem allowance – Decide on the hem allowance (the amount of fabric to fold up). A standard hem allowance is 1-2 inches (2.5-5 cm).
- Calculate the new length – Subtract the hem allowance from the desired length.
Formula: New Length = Desired Length – Hem Allowance.
Example:
Desired Length = 30 inches (76 cm)
Hem allowance = 1.5 inches (3.8 cm)New Length = 30 – 1.5 = 28.5 inches (72.4 cm). - Mark the new length – Fold the pant leg up to the new size and press. Mark the fold with a marker or chalk and secure it with pins or clips.
Advice – Always wear your regular footwear and measure the length for a perfect look.
- Hemming measurement calculation:
- Double fold hem – Fold the raw edge by the hem allowance, then fold it again by the same amount.
- Single fold hem – Fold the raw edge up by the hem allowance.
Advice – Adjust the calculation based on the type of hem you are doing and the fabric thickness.
- Press the folded edge
Time to press and fold the hem allowance.
- Fold the raw edge of the pant leg up by the desired hem allowance and press.
- Fold it up again by the same amount and press ( in case of double-fold hem).
Advice – Pressing the hem before sewing gives a crisp fold and a professional-looking hem.
- Apply hemming tape
Apply hemming tape to the folded edge, ensuring it is centered and smooth.
Note – It is optional. Heming tape is water-soluble and disappears completely after washing.
6. Select the right stitch
You can choose straight stitch or blind hem stitch on your sewing machine.
Advice – The blind hem is ideal for pants with a narrow hem allowance. While the visible hem is better suited for pants with a wider hem allowance.
Common Stitches used for hemming:
Straight Stitch- Best for cotton or woven pants.
Blind Hem Stitch- For dress pants or formal wear.
Zig-Zag Stitch- Works well on stretch or knit pants.
Double Needle Stitch- Great for jeans and professional-looking hems.
7. Thread your machine
Thread your machine with matching thread.
Advice – Make sure the thread tension is properly set, not too tight or too loose.
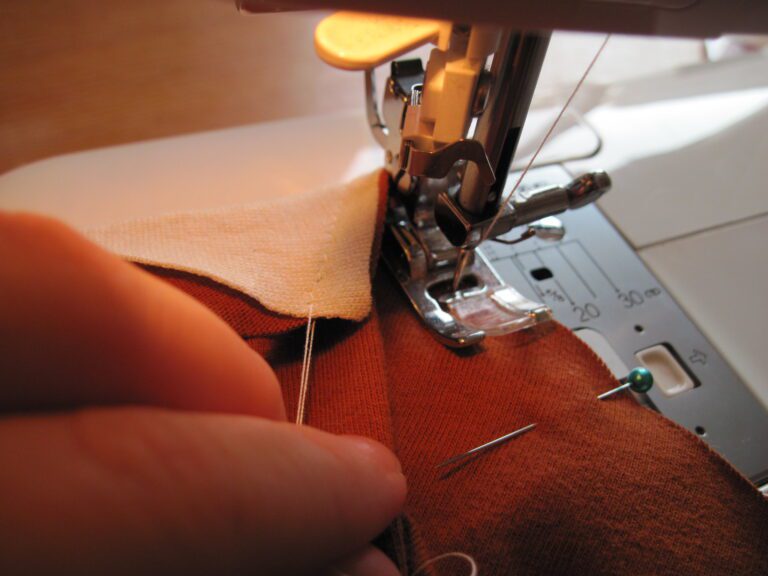
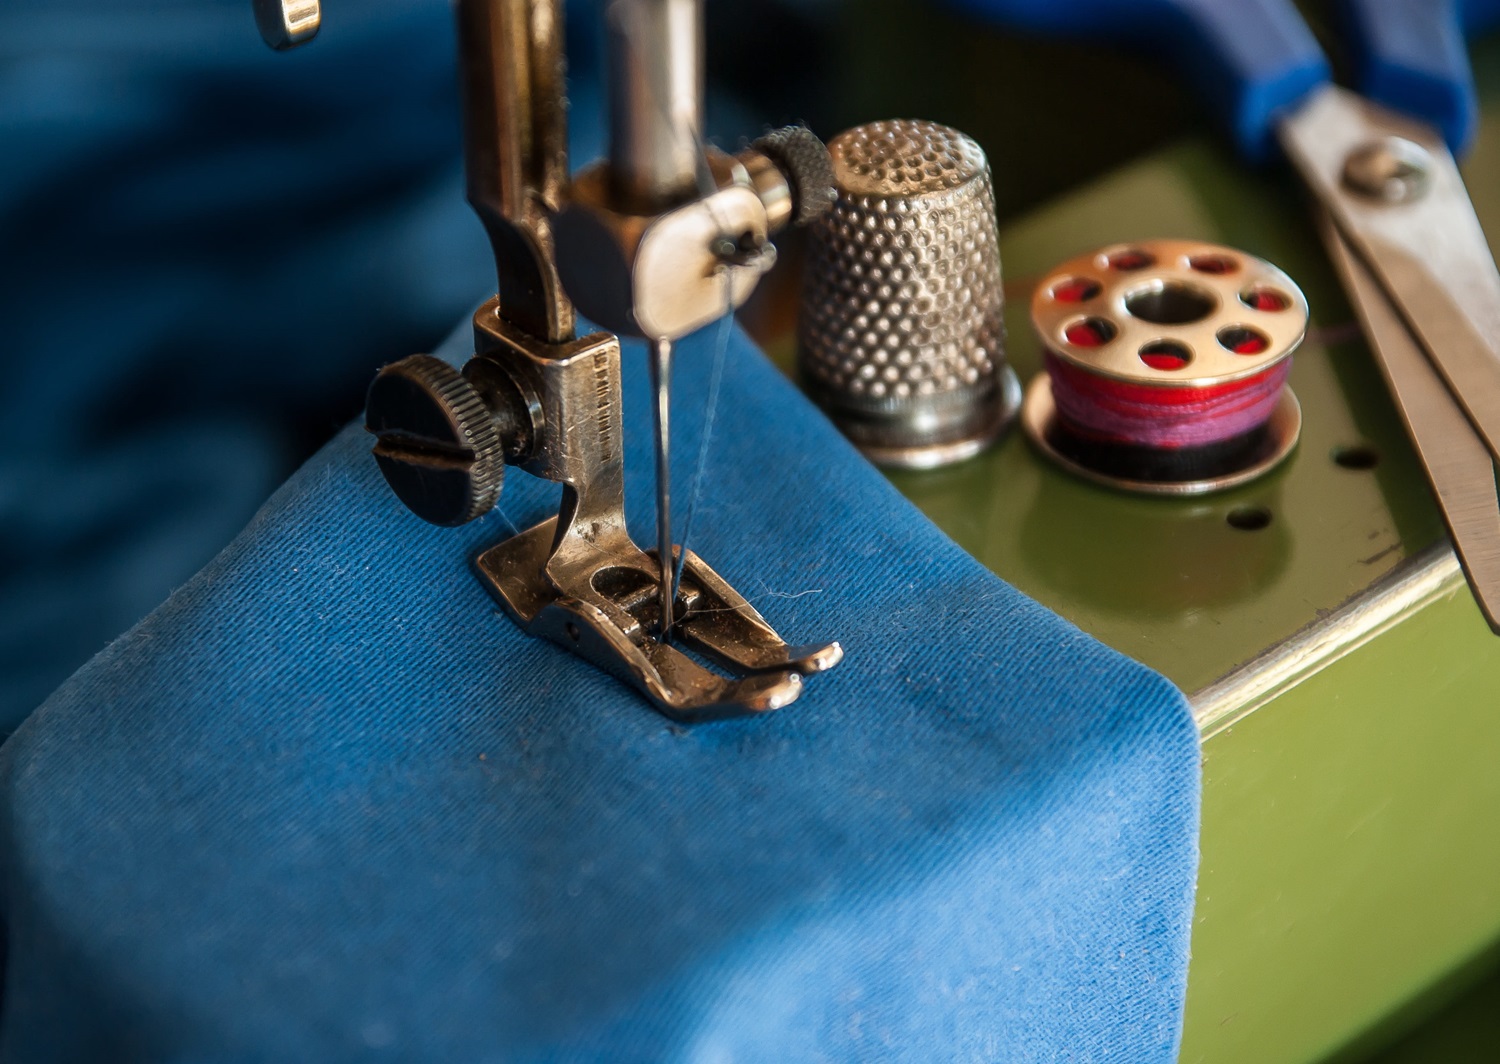
8. Sew the hem
Set your sewing machine to a straight stitch.
- Begin at the side seam from where it is less noticeable.
- Sew along with the folded edge, keeping your stitches straight.
- Use a seam guide as it helps to maintain a straight stitch line.
- Use a Teflon foot to keep the fabric smooth and flat if necessary.
- Maintain a consistent stitch length throughout the hem. A shorter stitch length is recommended for heavier fabrics.
Note – Always sew a few stitches forward, then a few stitches backward (reverse stitch), to keep your stitches strong, and start sewing.
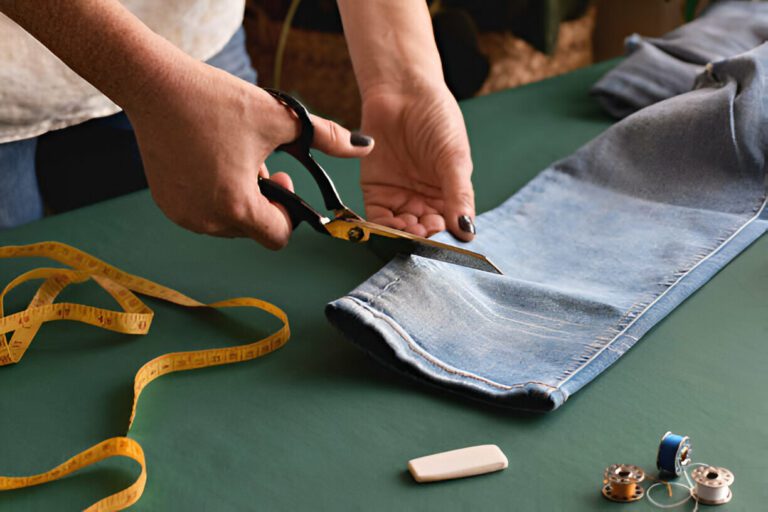
9. Trim the excess fabric
Trim excess thread and fabric.
Advice – I use special scissors called pinking shears to trim the fabric.
Reason – They help prevent the fabric from fraying.
10. Check your work
Inspect your hem to make sure it’s even and secure. Try on the garments to see how it fits. If you are happy with how it looks, remember the settings you used on the sewing machine, so that you can do the same next time. Still, if you find the process difficult and are not confident to do it. You can also try glue hemming it’s pretty simple and easy just follow the video.
How to Hem Jeans or Heavy Fabric Pants?
Use a denim needle (size 90/14 or 100/16) for heavy fabrics. Also, consider switching to a longer stitch length (3 mm) and sewing slowly over bulky seams. You can use a ‘hump jumper’ or fold a piece of cardboard to help the presser foot stay level on thick layers.
FAQ:
- Can I hem pants without a sewing machine?
Ans – Yes, you can use hemming tape or fabric glue as a temporary fix.
- What stitch is best to hem pants with a sewing machine?
Ans – Straight stitch is ideal for woven fabrics, while zig-zag or stretch stitch works better for knits.
- Is hemming the same as tailoring?
Ans – Hemming is a type of tailoring, specifically shortening or finishing fabric edges.
Conclusion
If you are new to sewing, start with simple hems on easy-to-handle fabrics. Overall, hemming is a key aspect of tailoring that enhances the fit, function, and longevity of clothing, contributing to a well-maintained and stylish wardrobe.