How to Hem Pants Without Sewing?
It was the morning of an important business meeting. I panicked as I unpacked my suitcase and realized I had forgotten my black formal pants. The clock was ticking, and the dress code was non-negotiable. After several searches, I found a store with formal pants but the length was pretty long.
Normally, it wouldn’t have been a problem. I have been sewing for years and could easily fix the length in minutes. But I was a mile away from my sewing machine and had no time for the more traditional methods. So I improvised folding the hem and securing it with a few safety pins. That moment highlighted how important it is to know how to hem pants without a sewing machine.
Learning these methods isn’t difficult. It’s just a matter of practice, and you will feel more confident handling wardrobe issues in the future. Here is a simple guide for everyone new to sewing or looking for a quick solution.
1. Double-sided Fabric Tape Method: It is an amazing tool for moments when you need a fast and reliable hem. It’s easy and does not require any sewing skills. Let’s dive deep into the process:
Prepare your pants—Pre-wash your pants before you begin to hem, to avoid shrinking after the first wash. Skipping this step can lead to uneven or puckered hems later.
Dry and Iron—Once the pants are clean, dry them completely. Use the iron to smooth out wrinkles, especially at the hemline. This helps the fabric tape stick evenly.
What you will need:
- Double-sided fabric tape or iron-on hem tape – Choose a high-quality tape designed for fabric use. For longevity, ensure that it is labeled as washable or heat-resistant.
- Measuring Tape – Marking the hem length to ensure accuracy.
- Chalk or Fabric marker – To mark the hemline without leaving permanent stains.
- Safety pins – To secure the fabric if needed.
- Iron – For pasting the iron on hem tape with the material.
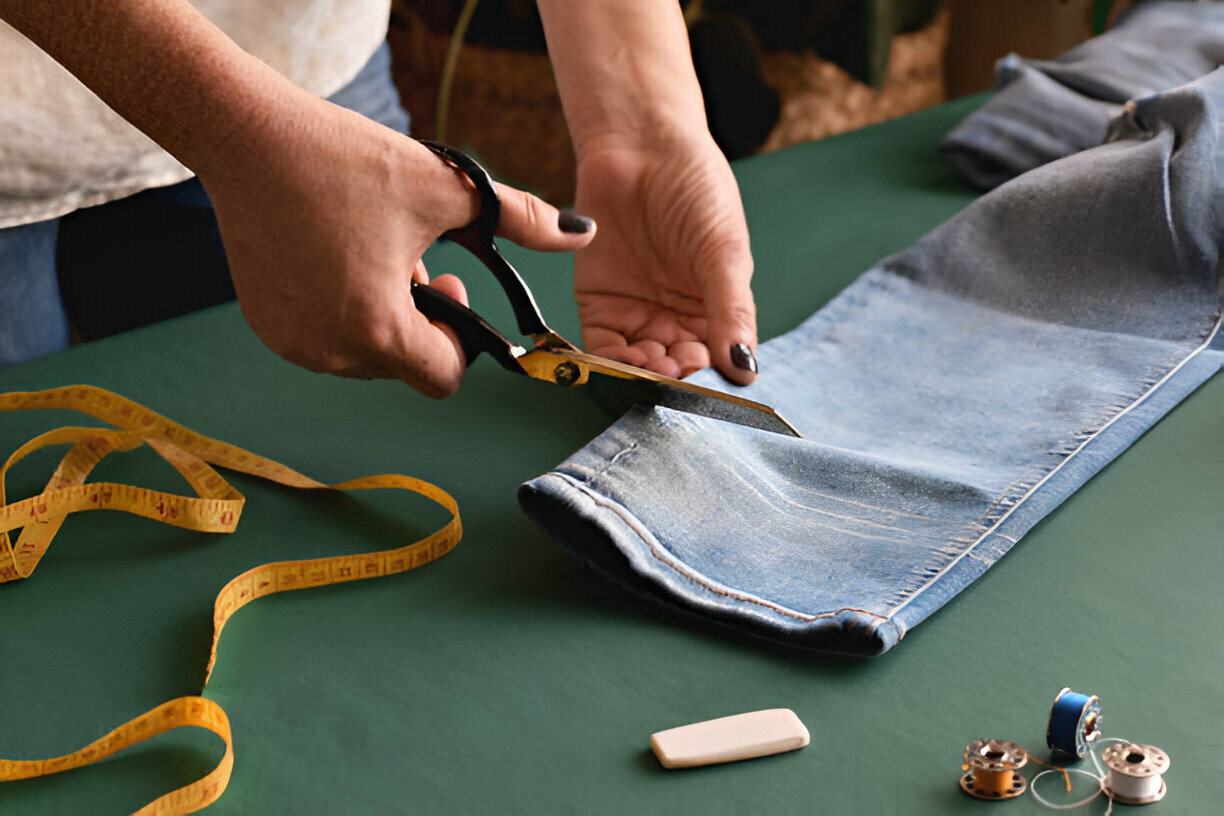
- Pair of scissors – Avoid dull scissors for clean and perfect cuts, as they may wear out the fabric.
- Flat surface – To avoid uneven folds, use a clean, flat surface such as a table or ironing board.
Try pants for accuracy – Before making any markings, wear the pants with the shoes you plan to wear. The choice of shoes affects how the pants fall, so this step ensures that the hem length is appropriate. Stand in front of a mirror or ask anyone if available to assist you in checking whether the folded hem aligns symmetrically on both legs.
Advice – If you are hemming formal or dress pants, aim for a slight break where the fabric gently rests on the shoe, rather than hemming too short.
Note – The hem can be adjusted based on personal preference for casual pants
Folding the hem – Once the length is decided, carefully fold the bottom of each pant leg inward. Ensure the fold is even all around the leg opening. If one side is longer, adjust it until the folds appear the same.
Remember – formal pants should have a clean, straight fold, while casual ones can be slightly relaxed or cuffed.
Marking the hemline – Mark the folded edges with chalk or fabric-safe marker. The visible marks will guide you when applying the fabric tape. You can make small markings at equal intervals around the circumference of each pant leg.
Note – Use a fabric marker, so that the marks disappear with washing or ironing, to prevent any permanent stains.
Double-check the measurement – Before moving ahead, stand straight, check the markings, and walk around to see that the pants don’t feel too short or long when in motion. Once satisfied, remove the pants and lay them on a smooth, flat surface. Compare both pant legs to confirm that they match in length. This measure and marking help the hem remain uniform and visually appealing, making the final look professional.
Applying Double-sided Fabric tape: Before peeling the tape off, measure the entire circumference of the pant leg opening to get the required tape length. Now, cut a strip, slightly leaving an excess of about half an inch over the actual requirement. This allows for adjustments and prevents gaps at the seam.
Advice – Avoid cutting pieces that are too short, as it may result in an uneven or loose hem over a period of time.
Turn the pants inside out – Before applying the fabric tape, turn the pants inside out, as the work will be done on the wrong side of the fabric. This prevents the tape from being visible and helps the hem look seamless.
Again lay the pants and carefully unfold the hem, Start by peeling off one side of the tape and align the sticky side along the edge of the unfolded hem. Press gently as you proceed, ensuring the tape adheres evenly. To obtain the best results, work in small sections and press firmly to prevent air bubbles or wrinkles.
Note – If your pants have side seams, begin placing the tape from the seam area to maintain symmetry, preventing any visible gaps or inconsistencies in the hem.
Secure the hem with the tape – Once the tape is in place, peel off the other side to expose the second adhesive side. Carefully hold the hem back and press the fabric slowly onto the tape. Again, work in small sections from one end to the other, applying even pressure with your fingers or using a flat tool like a ruler. Turn the pants back to the right side and check the hem.
Advice – Check for wrinkles or uneven spots before finalizing the hem. Run your fingers along the entire hemline for a secure hold.
This method is a quick but not permanent solution as the tape can last for hours or days and later it can be peeled off.
2. Iron-on hem tape method – This method is similar to the double-sided fabric tape method, as in both solutions, adhesive tape is required to secure the hem. The key difference is that iron-on hem tape requires heat, which helps to create a firm bond that can withstand multiple washes and long-term wear.
Prepare your pants just like in the previous method. This includes:
- Washing and drying the fabric to prevent shrinkage.
- Turning the pants inside out to access them.
- Measuring and marking the hemline for an even length.
- Folding the fabric neatly to create a clean crease.
- Secure the hem with tape.
Now the additional steps for the Iron on hem process.
Choosing the right tape – For lightweight fabric like cotton, polyester, or Linen, a thin and flexible hem tape is ideal. If the pants are made up of wool, denim, or other thick material, heavy-duty tape is suitable. For stretchy fabric, a stretchable hem tape ensures the bond remains intact even when the material expands. I highly recommend selecting a washable and high-temperature-resistant tape for long-lasting results.
To apply the tape correctly iron must be set to the appropriate temperature based on the fabric type. Like
- Synthetic fabric like polyester – Low heat.
- Cotton or Linen – medium-high heat.
- Denim or wool – High heat.
Note – To avoid burning or leaving shiny marks on the fabric, a pressing cloth or thin cloth should be placed over the hem before ironing.
The Ironing Process – Press down the iron firmly for about 8-10 seconds on each section. This ensures the adhesive melts evenly and bonds to the fabric. After covering the entire hem, the pants should be left to cool completely before turning them right side out.
Final check – Before wearing the pants, a quick final check should be done. Like, inspecting for any loose edges and re-ironing any weak spots. Gently stretch the hemline to ensure that the adhesive holds well.
Conclusion
The double-tape method is perfect for quick fixes, last-minute emergencies, and travel situations when sewing isn’t possible. The iron-on hem method is ideal for situations where you need a quick, durable fix with a clean and tailored finish. These methods are perfect for anyone from beginners to experienced DIY enthusiasts.

