How to Set up a Sewing Machine?
A Guide for a Beginner
Operating a ready sewing machine is easy peasy! I also did it on my sister’s Singer machine. But the difficulty started when I shifted and ordered my sewing machine. You know what, I was astonished when I unboxed the machine.
It took hours to assemble the parts and make the machine ready. You know what? The reason was that my sister was out of town and I was having a lack of guidance. I had to do a lot of study and research while assembling. I faced lots of trouble leading to frustration. This whole experience influenced me to write about a simple yet important “How to set up a sewing machine” for a beginner to start their sewing journey. If you’ve ever felt nervous or clueless around sewing tools, this step-by-step guide will clear your confusion and help you start with confidence—even if you’ve never sewn a single stitch!
- UNBOXING
- LIST OF PARTS AND TOOLS
- POSITIONING YOUR MACHINE
- ASSEMBLING PROCESS
- THREADING THE SEWING MACHINE
- SEWING MACHINE TESTING
- GET SET GO
UNBOXING–
When you purchase a new machine be very careful while unboxing. It has several loose parts and tools, which can be lost or misplaced easily.
I faced the same problem as I overlooked the user manual and started to assemble the machine out of excitement.
Open the box on a clean and flat surface. Place a towel or cloth underneath to prevent scratches and to keep small parts from rolling away. Take a pic of all items inside the box right after unboxing. It helps in future reassembly or when calling customer support.
Note – The user manual consists of the list of parts and accessories present in the box. Kindly tally the parts with the manual. Make sure you have all to set up the sewing machine.
LIST OF PARTS AND TOOLS
The sewing machine generally has:
- User Manual – It is a booklet containing all the information about the model, a list of items, a guarantee/warranty card, a guide for assembling, a guide for maintenance, customer support or service details, and many more.
- Foot Pedal – It is also known as the foot lever operated by the foot to control a mechanical linkage with the machine.
Usage – to control the speed allowing use your hands to guide the fabric.
- Power Cord – It is an electrical cable with a plug on one end and a connector on the other.
Usage – it connects the sewing machine to the main electricity supply through a wall socket.
- Presser Feet – It is a fork-shaped metal part, that holds fabric in place while stitching.
Usage – it keeps the fabric flat and aligned without getting puckered when it is stitched.
- Sewing Needles – It is a specialized tool, that holds the thread through its eyelet.
Usage – it drives the thread through the fabric and down to the bobbin to secure the loop of the stitch.
- Bobbins – It is a small plastic or metal spindle-shaped structure, that has ridges on both sides.
Usage – It holds a wound of lower thread in a sewing machine. - Bobbin Case – It holds the bobbin securely in place.
Usage – It helps to smooth the surface for the thread passing through the bobbin, preventing tangles and knots.
- Spool Pin – Holds the thread spool in place during winding and stitching.
- Thread guide – Helps the thread move smoothly and in the correct path before it reaches the needle. These parts often look small and are placed near the top of the machine.
Some machines may come with bonus accessories like a seam ripper, extra bobbins, a cleaning brush, or even multiple presser feet like a zipper foot or a buttonhole foot.
Note – Store the extra parts and tools in the compartment attached to the sewing machine.
POSITIONING YOUR MACHINE
Choose a flat, stable surface to place your sewing machine. For example, a sturdy table or any desk can also do. Make sure, there is enough room around the machine for the fabric to move freely as you sew. Place a sewing machine mat under your machine. It helps reduce vibration, noise, and keeps the machine from sliding on smooth surfaces. Use an adjustable chair and keep your back straight. This will help during long sewing sessions. If possible, place the machine near a natural light source.
Note – a well-lighted space is also good for preventing eye strain.
ASSEMBLING PROCESS
Inserting Power Cord
Attach the power cord to your machine and plug it into a nearby outlet.
Positioning Foot Pedal
Connect the foot pedal to the machine and place it on the floor near your dominant foot. Position the pedal in a way that is comfortable for you to press on while seated.
Nowadays the models have a pre-installed needle. But if not, installing the needle is simple. Hold the needle by its flat side and insert it into the needle clamp. Tighten the screw to secure the needle in place.Always switch off the machine before inserting or removing the needle to avoid injury.
Note – Make sure the flat side of the needle is facing the correct direction, usually towards the back of the machine.
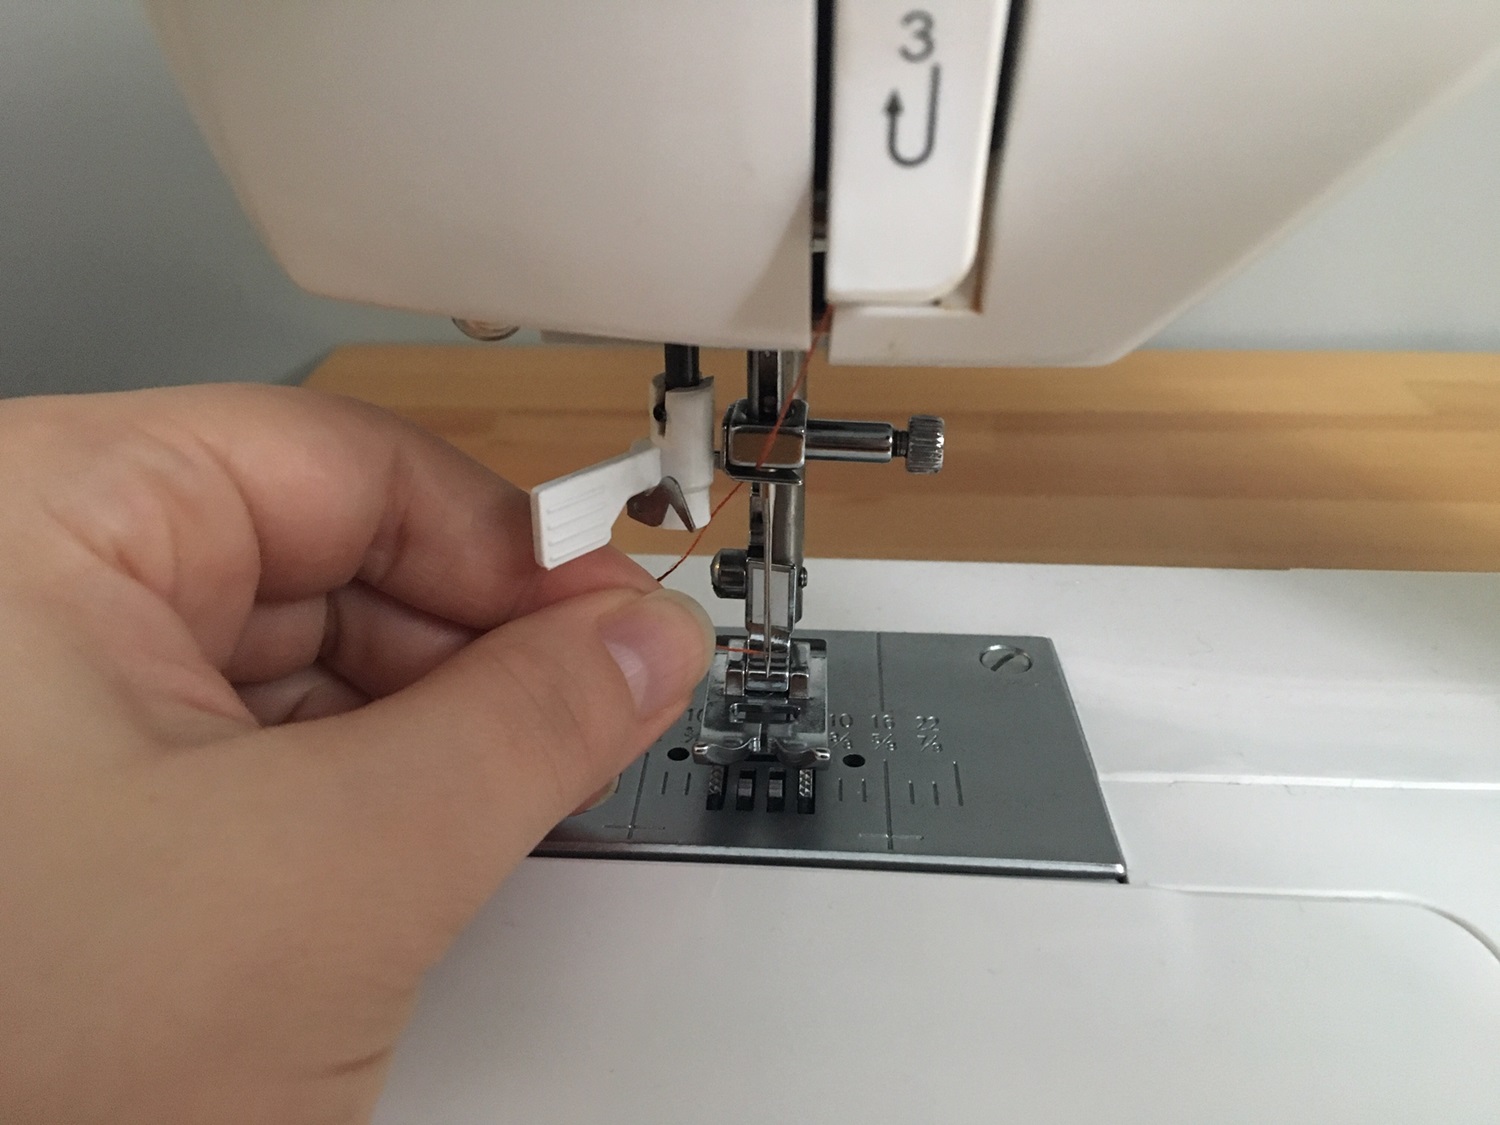
THREADING THE SEWING MACHINE
Winding bobbin
Place the spool of thread on the spool pin. Pass the thread through the guide as directed in your user manual and wrap it around the bobbin several times to secure it. Press the lever or switch whichever your model procures. Slowly press the foot pedal to begin winding. Stop once you have enough thread for your project. If your bobbin is not wound evenly, it can cause stitching issues. Always trim the thread tail before inserting it.
Advice – In the beginning, I rushed while winding the bobbin which led me into a mess and caused uneven tension in the bobbin thread. Don’t repeat.
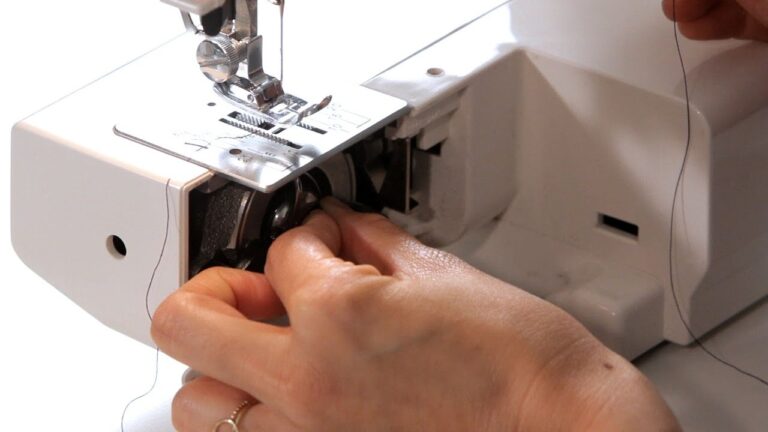
Positioning the bobbin case-
Next, insert the bobbin case which is located beneath the needle plate in simple 3 steps:
- Open the bobbin case cover.
- Drop the bobbin into the case
- Pull the thread through the guide to make it secure.
- Close the cover.
Some machines use a top-loading bobbin (you drop it in from the top, under a clear plate), while others use a front-loading system (you insert the bobbin case into a compartment at the front).
Advice – You can also follow the diagram present in the user manual for any confusion.
I have already made a full-length guide, in detail for beginners specifically “how to thread a sewing machine”. Go grab the information for much clarity.
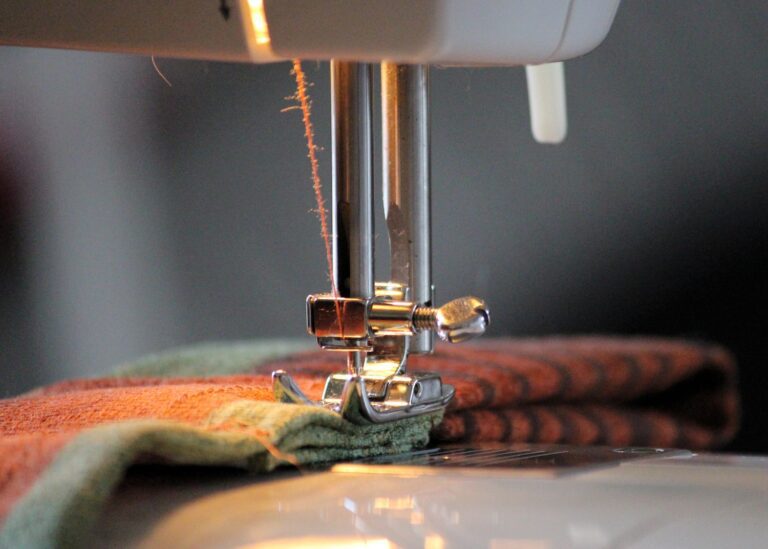
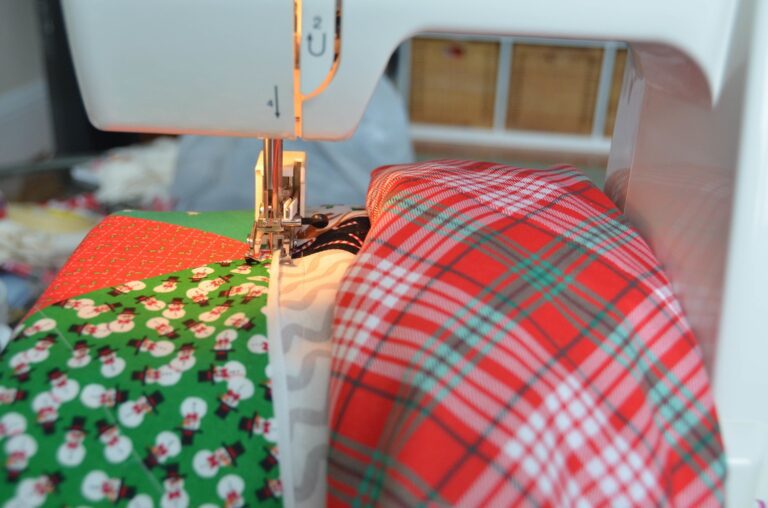
SEWING MACHINE TESTING
Now that your sewing machine is set up, it’s time for a test run. Take a piece of scrap fabric and practice by sewing a straight line. Check that the machine is functioning correctly and you are comfortable with its operation.
Also, check that the switches are even and that the fabric moves smoothly through the machine. If the stitches are loose or the fabric bunches up, you may need to adjust the tension or re-thread the machine.
Before you press the pedal, make sure the presser foot is down. If it’s left up, your stitches won’t form properly and might jam the fabric.
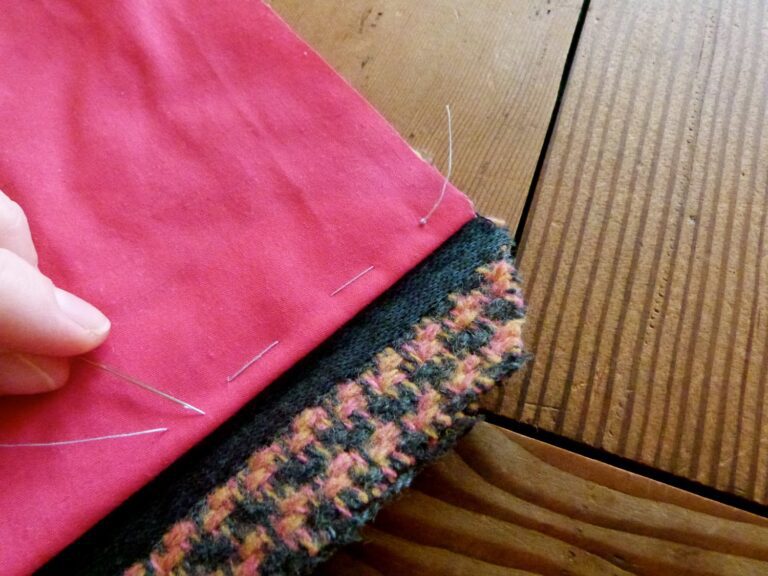
Tips – Test on two layers of fabric, as most real projects are done with more than one layer. Also, try out backstitching to lock your stitches in place.
FAQ:
- Can I use my machine right after unboxing?
Ans – Yes, but testing and threading must be done first to ensure proper stitches.
2. How long does it take to set up a sewing machine for the first time?
Ans – It can take anywhere between 30 minutes to an hour, depending on your knowledge and familiarity with the parts of the machine.
3. Do I need a table for my sewing machine?
Ans – A sturdy table is highly recommended to avoid vibration and ensure comfort.
4. Do I need to oil my new sewing machine before first use?
Ans – Most modern machines come pre-oiled. However, always check the manual. If required, use only sewing machine oil.
5. What kind of thread should I use for basic sewing?
Ans – Go for a good quality all-purpose polyester thread. It’s strong, versatile, and works well for beginners.
6. My thread keeps breaking. What could be wrong?
Ans – It might be a poor quality thread, incorrect tension settings, or threading errors. Re-thread the machine completely and try again.
CONCLUSION
The setup is just the first step towards a sewing journey. You have to be patient enough to go through the process step by step without skipping which will keep your machine running in good condition for a long time. Thread correctly, adjust tension, and test stitch are the keys to a smooth sewing experience. Refer to your machine’s user manual for specific guidelines. This is a pathway to create beautiful garments, crafts, home decor, and more
Why wait, let’s get going Guys!