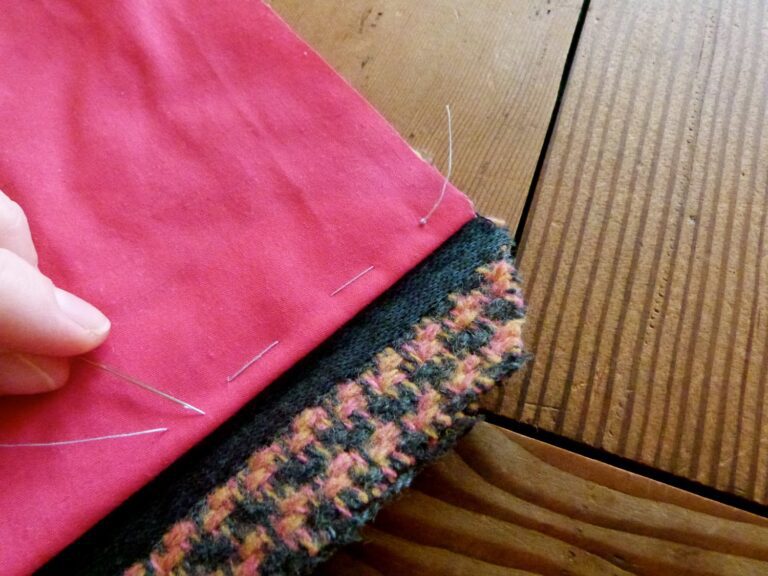
How to Sew on a Patch
Patching is a sewing technique used to repair, or decorate fabric and leather items by attaching a piece of material over a damaged or worn-out area. Whether you want to fix a hole in your favorite jeans add a stylish touch to a jacket, or strengthen a torn bag, patching is a useful skill to learn.
It can be done using sewing, adhesive bonding, or heat-based methods like iron-on patches. The patching materials depend on the fabric type and the technique you choose. The required tools are:
- Fabric patches (denim, cotton, leather etc).
- Sewing machine or hand sewing needles.
- Thread (matching or contrasting colors).
- Iron on adhesive or fusible web.
- Fabric glue for no-sew patches.
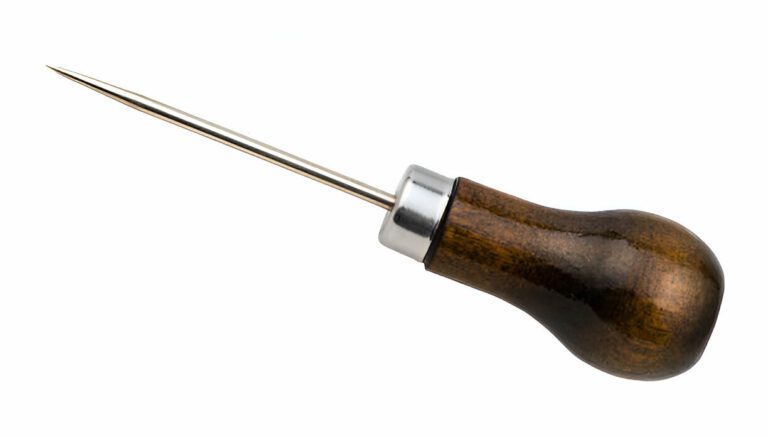
- Sewing awl for leather patching.
- Scissors or rotary cutter.
- Pins or clips to hold the patch in place.
Below is a detailed guide on how to patch both fabric and leather efficiently.
Patching fabric by sewing:
Step 1 – Prepare the fabric
Before applying the patch, inspect the damaged area. Trim any loose threads around the tear using sharp scissors to create a clean surface. If the fabric is wrinkled, iron it to ensure a smooth working area.
Advice – Cleaning the fabric beforehand helps the patch adhere better.
Step 2 – Choose and cut the patch
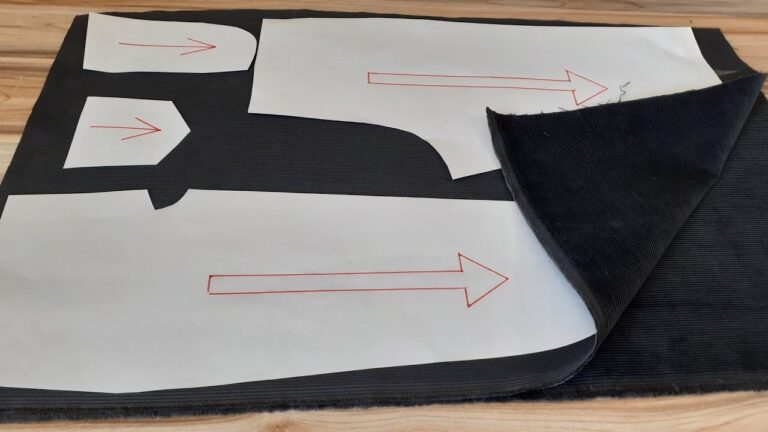
Select the patch that matches the fabric in texture and color or choose a contrasting patch for a decorative look. The patch should be at least an inch larger than the hole to ensure proper coverage. Cut the patch into a shape that goes perfectly with the garment.
Advice – Rectangular or oval patches work best for durability. For a patterned fabric, align the patch with the original design for a seamless appearance.
Step 3 – Pin or secure the patch
Once the patch is cut, position it on the damaged area. Use straight pins to hold it in place or secure it with fabric clips. If the material is thick. For a temporary hold apply a small amount of fabric glue before sewing.
Advice – If you are doing an inside patch (placing the patch under the fabric), turn the fabric inside out before pinning.
Step 4 – Sew the patch onto the fabric
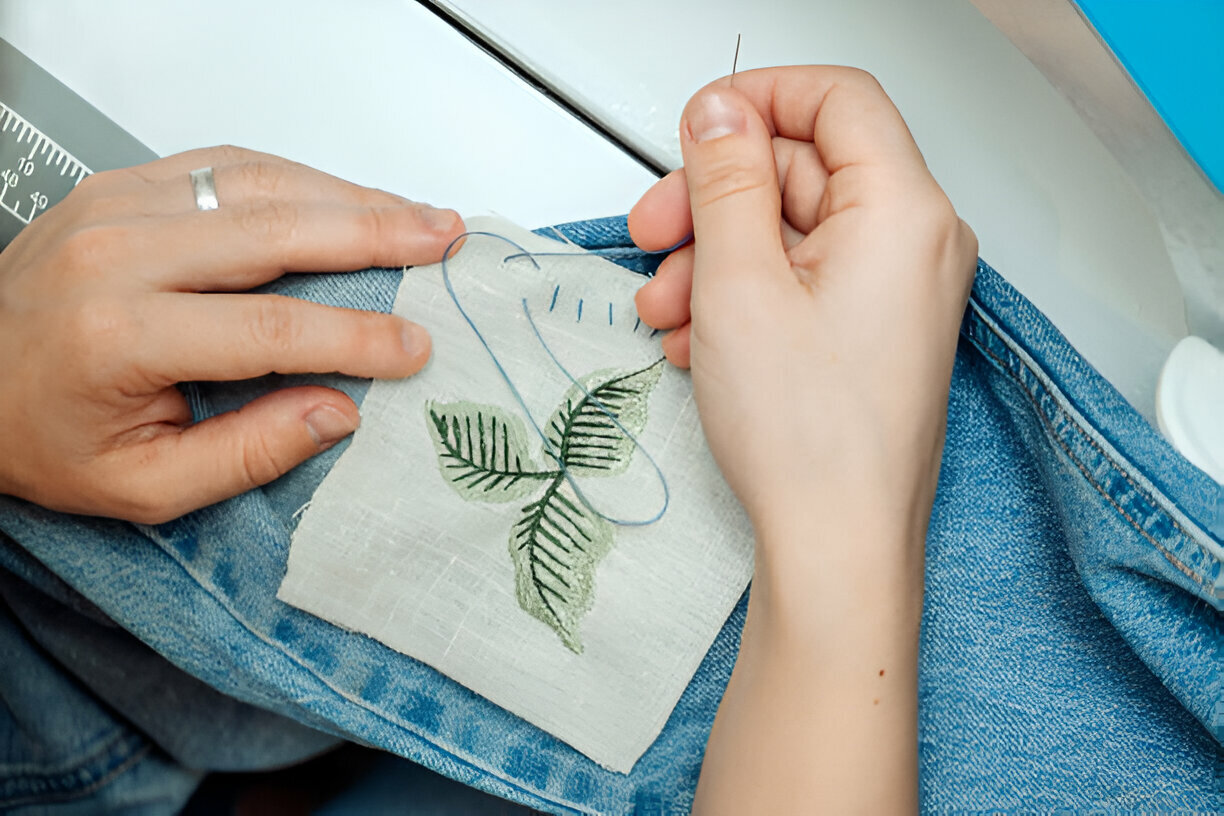
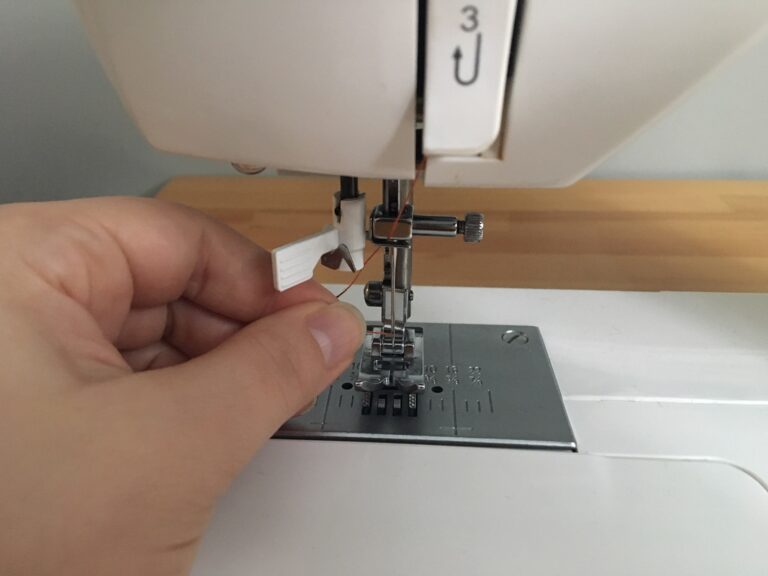
Choose a stitch type based on your preference or requirement. A straight stitch blends well with the fabric, while the zigzag stitch provides extra support. Thread a needle or use a sewing machine, then sew around the edge of the patch. Use backstitch at the beginning and end to secure the thread. In the case of hand sewing, use a running stitch for a simple finish or a blanket stitch for additional strength.
Step 5 – Finish the patch
Once the patch is sewn, trim any excess fabric beyond the stitches to prevent bulkiness. If the fabric frays easily, then use a fray stopper or apply fabric glue around the edges. Finally, press with the iron to set the stitches and smooth out any wrinkles.
Patching leather using a sewing awl:
Leather patch is a more complex process, than fabric patching due to its thickness. Regular sewing needles cannot slip into leather easily, so a specialized tool such as a sewing awl is needed. These are used to repair jackets, bags, furniture, and accessories.
Step 1 – Prepare the leather surface
Clean the leather with a damp cloth or a mild leather cleaner to remove dust or oils. This will prevent the patch from dirt being trapped under the patch. Trim the rough edges and follow the same steps as discussed earlier in steps 1 and 2.
Step 3 – Mark the stitching holes
Pre-mark the stitching hole with the help of a leather puncher, an awl, or a sharp needle. Create evenly spaced holes around the edges of both the patch and the leather surface. This will maintain uniform stitching and reduce the chances of the leather tearing under tension.
Step 4 – Thread the sewing awl and secure the patch
Insert a waxed thread into the sewing awl. Position the patch over the damaged area and temporarily secure it with double-sided tape or glue to prevent shifting while sewing. Ensure the patch is properly aligned before processing the stitch.
Step 5 – Sew the patch using the sewing awl
Using the pre-made holes, push the awl through the leather, ensuring the thread loops securely around each hole. Pull the thread tight after each stitch to maintain an even tension. A lock stitch is commonly used for leather because it holds strong and does not unravel easily.
Step 6 – Finish the patch
Once the sewing is complete, tie a strong knot at the end and trim any excess thread. If needed apply a small amount of leather adhesive along the edges of the patch for more strength.
Advice – To blend the patch with the original leather, gently rub a leather conditioner or polish over the area.
Types of patching:
Functional patching – Done to fix holes, reinforce weak areas, or extend the life of the fabric.
Decorative patching – Used to add unique designs, embroidered patterns, or fabric appliques for a stylish effect.
Fabric patching – It is used to repair clothing, bedsheets, or furniture upholstery. You can choose a fabric that blends with the original material or use a contrasting color to make it stand out.
Common methods for fabric patching:
Iron on patches – Quick and easy, using heat to bond the patch to fabric.
Sew on patches – Secure and durable, sewn using a sewing machine or by hand.
Fusible web patching – A thin adhesive layer that sticks fabric patches in place.
Leather patching – Used in jackets, bags, shoes, and furniture.
Common methods for leather patching
Sewing with a leather awl- A sturdy way to attach patches to leather surfaces.
Glue-on patches- Quick and no-sew, but less durable.
Hand stitching with heavy thread- Create a decorative effect while securing the patch.
Denim patching – These are widely used in jeans and jackets. They can be bold, subtle, stylish, and hidden.
Common methods for denim patching
Visible patching- Using contrasting fabric or embroidery for a decorative look.
Invisible patching- A discreet repair, matching the denim’s color.
Frayed edge patching- A trendy, rugged look often seen in fashion.
CONCLUSION
Patching is a valuable skill that allows you to repair, customize, and strengthen fabric and leather materials. Whether you are fixing your favorite pair of jeans or adding a stylish touch to a leather bag, there are plenty of patching methods. By choosing the right tools and techniques, you can get both functional and decorative results. So, the next time you find a tear or hole in your fabric, don’t throw it away, patch it up.

