How to Sew on a Patch with a Sewing Machine?
Sewing a patch is fun, you can customize your garments depending on their needs. Deciding whether to sew or patch a fabric depends on several factors. Before that, we would like to know the reason behind patching. Patches can solve both functional and decorative purposes. Tears, rips, stains, and holes are the types of damage that can be hidden by sewing a patch over it. It gives a versatile look.
Isn’t it amazing as it gives a completely new look to your favorite garments?
Yes, I was too curious to know when my friend Janni wore her old customized jacket using the same technique. Now the question arises of how to sew a patch with a sewing machine.
With the right technique and tools sewing a patch with the sewing machine can be quick and easy, Make sure you have the tools and materials listed below:
- Sewing machine
- Patch
- Garments or Fabric
- Thread
- Pins
- Fabric Glue
- Iron and ironing board
How to sew on a patch with a sewing machine:
- Selecting the outfit.
- Selecting the patch.
- Selecting the thread.
- Positioning the patch.
- Finally, sew it.
- Sewing around patch corners like a pro
- Trimming the thread
-
Selecting the outfit
First and foremost, decide the outfit or garment, you want to do the patchwork depending upon the necessity.
Blending thread with patch edges – For embroidered or iron-on patches, use invisible thread (monofilament) to blend stitches without color mismatch. This works well for patches with intricate edges or multicolor threads, helping to retain the original patch design.
Note– this will make your patch selection easier e.g. if you are preparing for a soccer match, a school event, or maybe a specific party, and so on.
-
Selecting the patch
Once you decide on the event go through online stores for related patches. You will find them easily. They come in various sizes from 2” to 5”.
Note– for your first project of the patchwork always find a patch with a firm embroidery design without a narrow edge to make the sewing process easier.
-
Selecting the thread
Depending on the patch you need to select the thread. Match the thread colour to the patch or choose a contrasting colour for a decorative effect. Nylon, silk, or polyester thread are strong and durable, ideal choices with long-lasting effects.
Note– my recommendation is an all-purpose thread as it comes in quite a variety of colors and is very durable. You can even place a single thread length on the patch over your dress and see how well it is going.
-
Positioning the patch
Marking guidelines – For sewing hack, use a fabric chalk or washable marker to draw guiding lines, especially for centered placement on jackets, sleeves, or pants. Use a ruler or hem gauge to ensure symmetry. This simple prep step makes all the difference.
Place the patch on the garments where you want it to be sewn. Use pins to secure the patch in place. U can also use fabric glue or an iron-on patch. To avoid pinholes in delicate fabric use a fabric clip and just a few pins around the edges.
Advice – I use fabric glue to secure the patch before sewing as it helps to keep it in place without shifting especially with slippery fabrics.
The first part is over.
Now I will guide you on how to stitch a patch on a sewing machine.
- Thread the machine – Once you have selected the thread, wound the bobbin with the thread for the bottom stitch and thread the needle for the upper stitch.
- Select the part for patchwork – This is an important step because you have to place the patch and have a preview of your dress.
Tips – When placing the patch take some pics to see the difference in the appearance of your dress. I always do it.
- Secure the patch over the dress – Spread the part of the dress firmly, place the patch on the desired area, and pin the patch to the fabric by pushing the pin down through the patch and the fabric and pulling it back to the surface about ½ inch distance, make sure you pin only the single layer, use few pins the hold the patch.
Tips: Always place the head of the pin towards your right-hand side while securing the patch this makes it easier for you to pull the pins out while stitching.
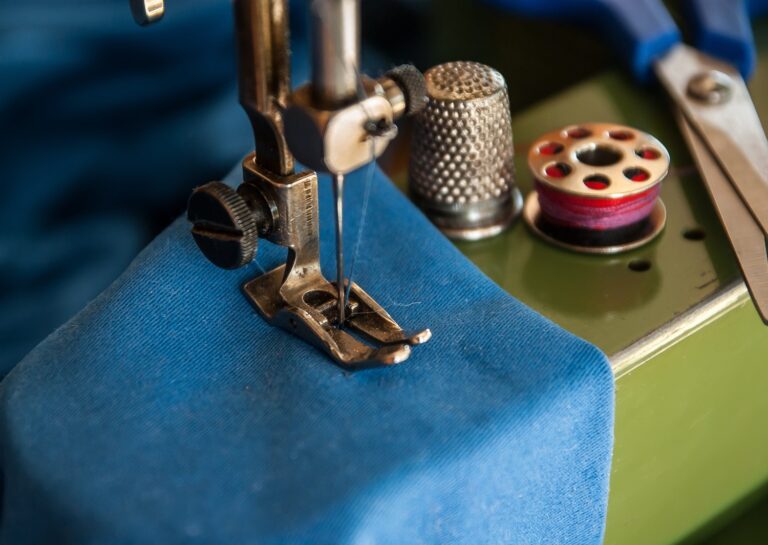
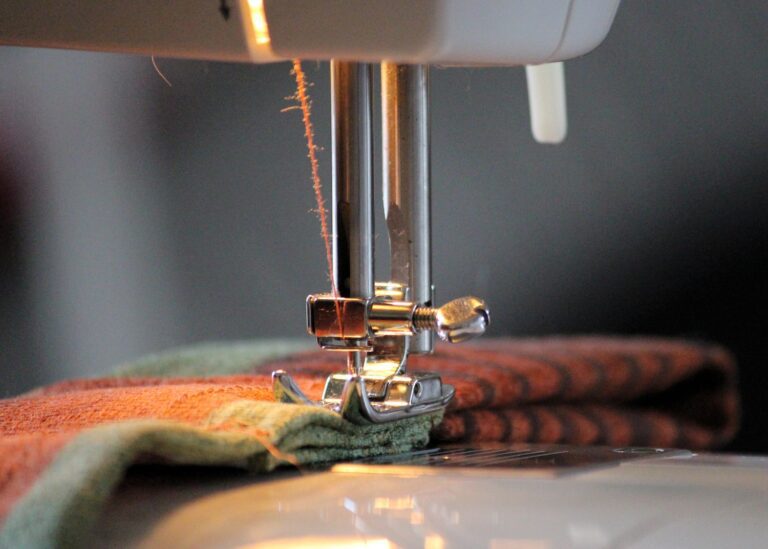
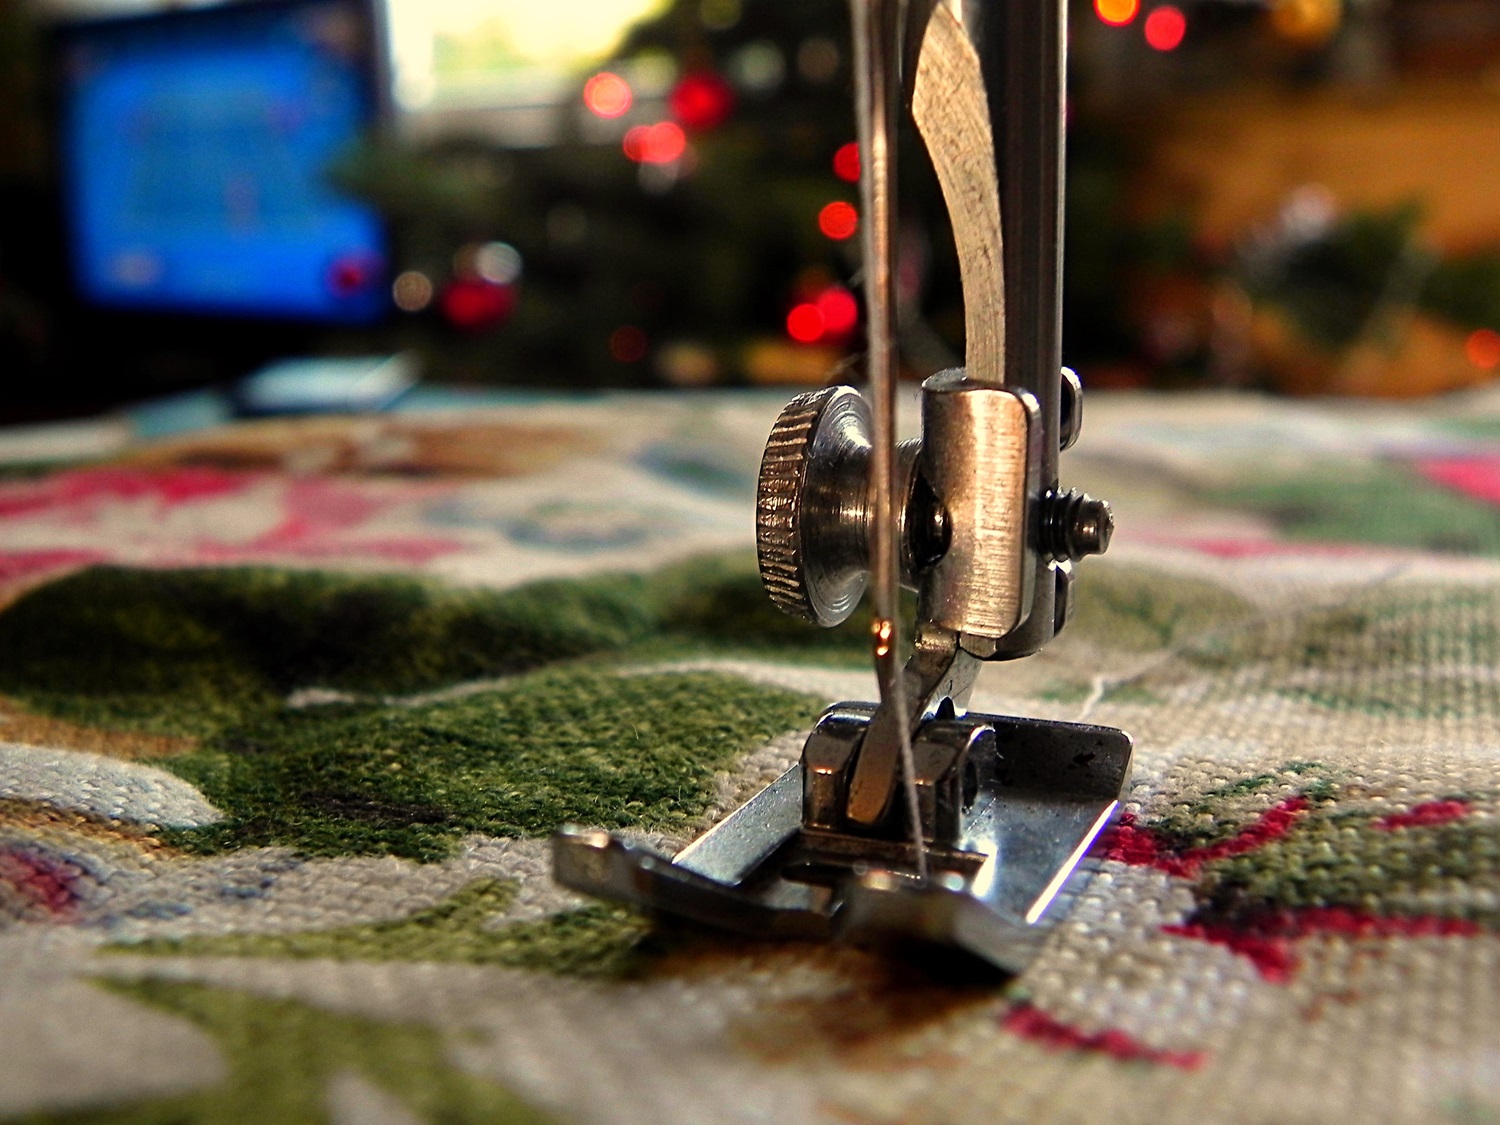
- Place the project on the machine – Get hold of both the top and bottom thread, to the back of the machine a little longer than usual, raise the presser feet, place the project beneath the needle, and lower the presser feet on one of the edges.
- Using stabilizer for professional finish – Slide a tear-away or cut-away stabilizer under the garment for lightweight or stretch fabrics like jerseys or knits. This prevents puckering and ensures smooth, even stitches. Remove the stabilizer once stitching is done.
Tips: If you are stitching the patch on the sleeves remove the toolbox compartment from the machine depending on the model, giving you a narrow stitching bed to slide the sleeve easily.
- Select the stitch pattern – You can select both straight line or zig-zag pattern stitch for the patchwork, many models have a display screen that shows the width of the stitch. You can adjust as per the requirement.
- Understanding stitch density of patches – Reduce the stitch length to 1.5-2.0 mm for patches. This increases stitch density and helps the patch stay firm, especially on thicker materials like denim or canvas. For zig-zag, set width around 2.5-3.5 mm.
Advice: Always use the B presser feet for a zig-zag stitch pattern that gives space for the wider stitch.
- Place the needle – Once you lower the presser feet start rotating the handwheel and pedal the machine slowly to see the position of the stitch it is sewing. Always the needle should be in a raised position while changing the stitch mode to prevent the needle breakage.
Advice: Secure the first stitch by sewing a few straight stitches (2-3) in the same place. Now you can change the mode to a zig-zag pattern if required.
-
Finally sew it
As you glide the patch be attentive when you reach any curves, turns, and corners. Maintain the track and slowly progress with the stitch. Once you are at the endpoint of the sewing please repeat the steps (a few straight stitches in the same place) to secure the last stitch too. You can also do it with hand stitch but again it is time-consuming.
- Sewing around patch corners like a pro
To pivot perfectly around patch corners, always stop sewing with the needle down, lift the presser foot, rotate the fabric slightly, lower the presser foot, and continue sewing. This keeps the stitch line tight and aligned around square or detailed shapes.
Note– Machine stitching is faster, and gives a more finished and firmer look. I always like to do patchwork on the machine.
7. Trimming the thread
Once the sewing is over, cut the thread leaving it a little longer.
Reason – To secure the finishing thread down through the patch.
How – Take a hand needle, and insert the top thread into it. Push the needle to the bottom of the garment, tie a knot with the bobbin thread, and trim off the excessive thread.
Advice – Use a drop of fabric glue to secure the knot.
Optional suggestion
Reinforcing with topstitching or edge sealing – To prevent fraying or wear over time, especially for workwear or high use areas, consider topstitching just outside the patch edge or applying a light fabric sealant. This extends the patch life while giving it a polished finished look.
Conclusion
Sewing is all about creativity and expression and adding patches to your garment is just one of the many ways you can make your clothing your own. Whether you are mending a favorite pair of jeans or adding a customized touch to the jacket, the steps will help you to achieve great results. Once you are confident sewing standard patches, try custom patch appliqué, reverse patching, or machine embroidery patches using your sewing machine. This opens up a world of personalized DIY fashion.