How to Thread Brother Sewing Machine
Every sewing machine has a different style of threading, depending on its brand, model, and type such as mechanical, computerized, or industrial. The basic concept of threading remains the same like passing the thread through guides, tension discs, and the needle. Each machine has unique pathways and mechanisms.
Let us check the process of threading the Brother sewing machine. The general steps are:
- Raise the presser foot.
- Place the thread spool.
- Follow the threading guide.
- Loop through the tension discs.
- Thread the take-up lever.
- Use the needle thread (if available).
- Insert the bobbin.
- Pull up the bobbin thread.
- Ready to sew.
Threading a sewing machine for a beginner may be daunting. However, Brother sewing machines are designed with user-friendly features that make the process easier. Let’s follow the step-by-step process:
Step 1
Preparing the sewing machine- Before threading, make sure your machine is set up correctly. Switch off the power to avoid accidental needle movement. This is especially for computerized models where the needle might move when adjusting settings.
Raising the presser foot is important because it releases the tension discs, allowing the thread to pass through smoothly. In case the presser foot is down, the tension dics remain engaged, making it difficult for the thread to pass through smoothly, which can cause uneven stitches or thread breakage.
Also, make sure the needle is in its highest position by turning the handwheel towards you. This makes it easier to guide the thread through the machine’s threading path without obstruction. It helps when inserting the upper thread into the take up lever, which is a vital step in the threading process.
Step 2
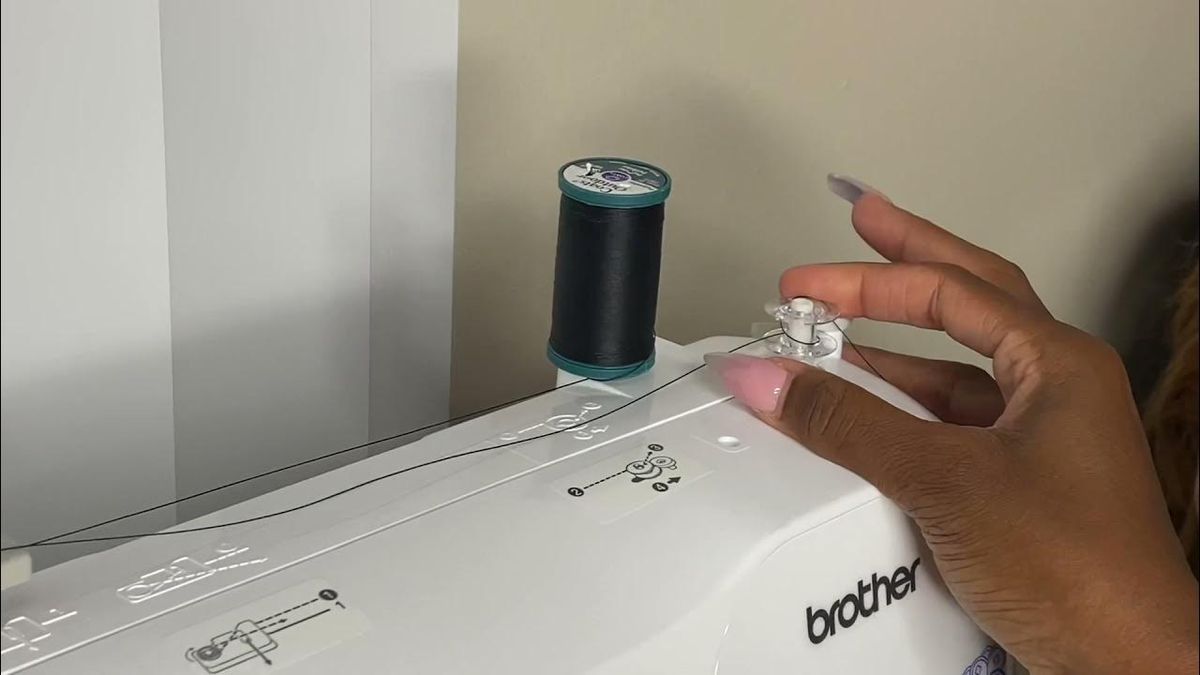
Placing the thread spool- Start by placing your spool of thread on the spool pin located on the top right of the machine. Most Brother machines come with a horizontal spool pin, which helps the thread unwind evenly. If your machine has a vertical spool pin, use a spool cap to keep the thread secure. Ensure the thread unwinds counterclockwise for a smooth feed. If the thread direction is incorrect, it may interrupt the flow through the machine’s tension system, leading to uneven stitches or tangled thread.
Step 3
Threading the upper thread- Brother sewing machine has an easy-to-follow threading guide printed on the machine itself. These numbered markings indicate the correct threading path, making it easier to avoid mistakes.
- Start with thread guide- Pull the thread from the spool and pass it through the first thread guide located on the top of the machine.
- Bringing the thread down- Pull the thread downwards following the groove in the machine’s front panel. This path leads towards the tension control area.
- Loop around the tension dial- Guide the thread around the tension control dial, making sure that the thread sits properly between the tension discs. Proper tensioning is essential for even stitches.
- Bringing the thread up to the take-up lever- After looping the thread around the tension control, bring it back up towards the take-up lever (a metal hook that moves up and down as the needle moves). Pass the thread through the eye of the take-up lever from right to left. This ensures the thread moves correctly with the needle.
- Guiding the thread down to the needle- Pull the thread downward again, following the guide that leads to the needle. Pass it through any remaining thread guides near the needle area to keep it secure.
Step 4
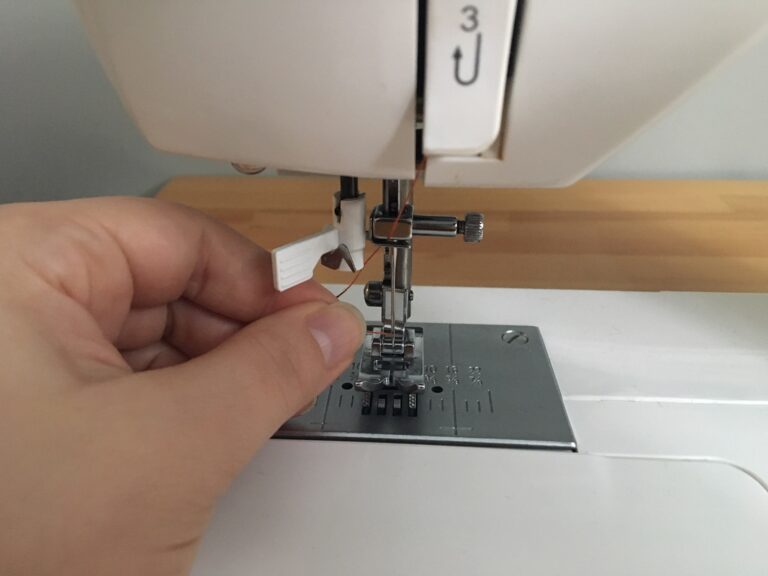
Threading the needle- Once the upper thread is done, now it’s time to thread the needle. Some Brother sewing machines come with an automatic needle threader, which makes the step easier. You need to just lower the needle threader hook, and threader lever, hook the thread onto the guide, and release it. The threading is done for you.
If this feature is unavailable then you will need to thread the needle manually. Like,
- Cut the thread at a sharp angle to make it easier to insert in the needle.
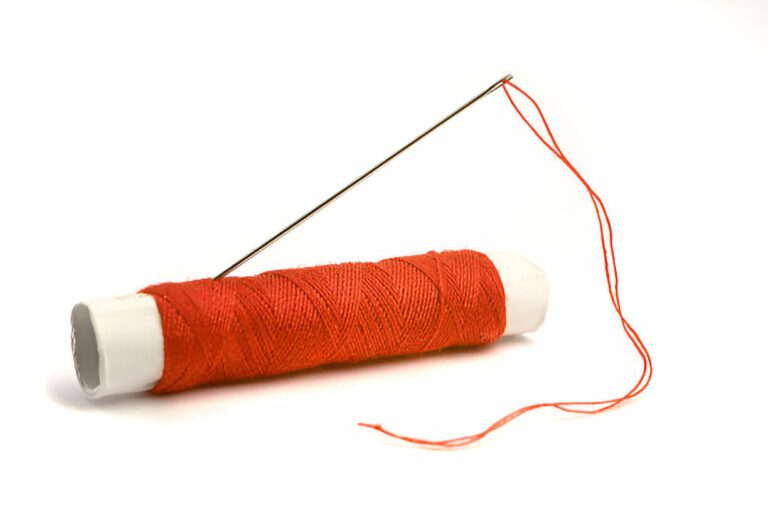
- Insert the thread into the needle eye from the front to back.
- Pull out about 5-6 inches of thread beyond the needle to ensure you have enough thread for stitching.
Step 5
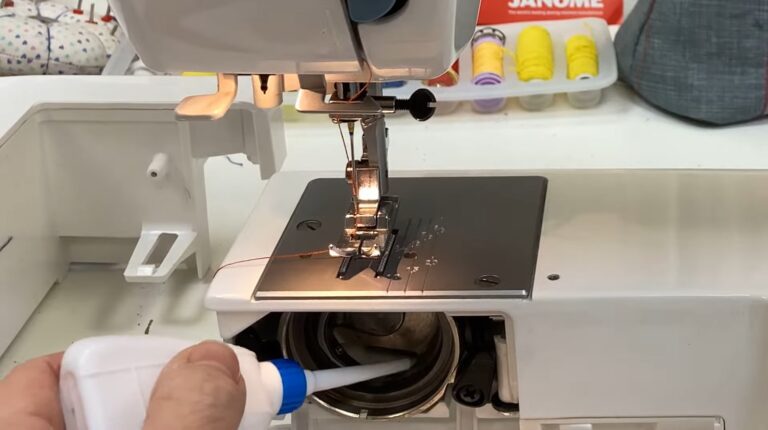
Inserting the Bobbin- Most Brother sewing machines has a top drop-in bobbin system, which makes it simple to insert the bobbin. However, some models may have a front loading bobbin, which requires removing a cover plate to access the bobbin case.
For the top drop-in bobbin system, follow these steps:
Open the bobbin cover and insert the bobbin into the compartment, keeping in mind that the thread winds counterclockwise.
Follow the bobbin threading guide, which shows the correct path for pulling the thread to the bobbin tension slot.
Hold the upper thread with one hand and turn the handwheel towards you to bring the needle down and back up. This motion holds the bobbin thread, pulling it up through the needle plate.
Use a pair of scissors or tweezers to gently pull both the upper and bobbin threads to the back of the sewing machine. Leave 5-6 inches of thread to prevent it from slipping out when you start sewing.
Step 6
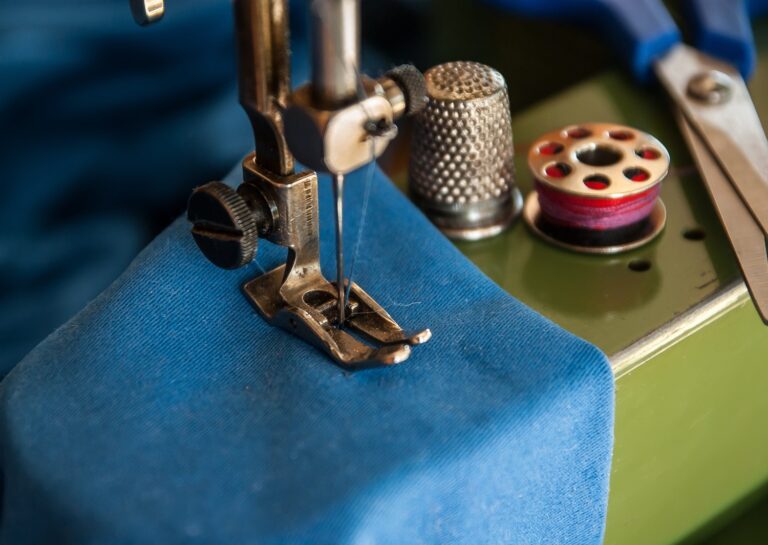
Test your threading- Before starting your actual project, it’s important to test your threading to make sure everything is set up firmly. Lower the presser foot gently hold the threads and sew a few test stitches on a scrap fabric. If you find that the stitches are uneven, loose, or skipped then you need to check these:
- Check if the upper thread is correctly threaded through all guides and tension discs.
- Ensure the bobbin is in place and the thread follows the bobbin threading path.
- Adjust the tension settings if needed.
- Rethread the machine completely if there are still issues.
Tips for a perfect threading
Use high-quality thread to prevent breakage or lint buildup inside the machine. Always raise the presser foot when threading to release tension and enable smooth threading. Regularly clean the machine to remove dust, dirt, and lint that may affect the tension and stitching. If you are unsure then refer to the Brother sewing machine manual for model-specific guidelines and instructions.
CONCLUSION
Whether you own a mechanical, computerized, or heavy-duty model, threading steps mainly remain the same, with slight variations depending on the machine type. Proper threading ensures smooth, even stitches and prevents issues like skipped stitches or thread breakage.
