How to Tie a Sewing Knot
Sewing is pushing a needle through the fabric. It is about creating something solid and lasting, this is why “knots” are so important. Whether you are starting or wrapping your work, tying the right knot will ensure your stitches stay secure.
Let’s see the different types of knots you can use, starting with the essential ones for beginning and finishing your stitches.
When you first pick up your needle and thread, be particular about how to secure your thread with a knot, to prevent the thread from slipping through the fabric.
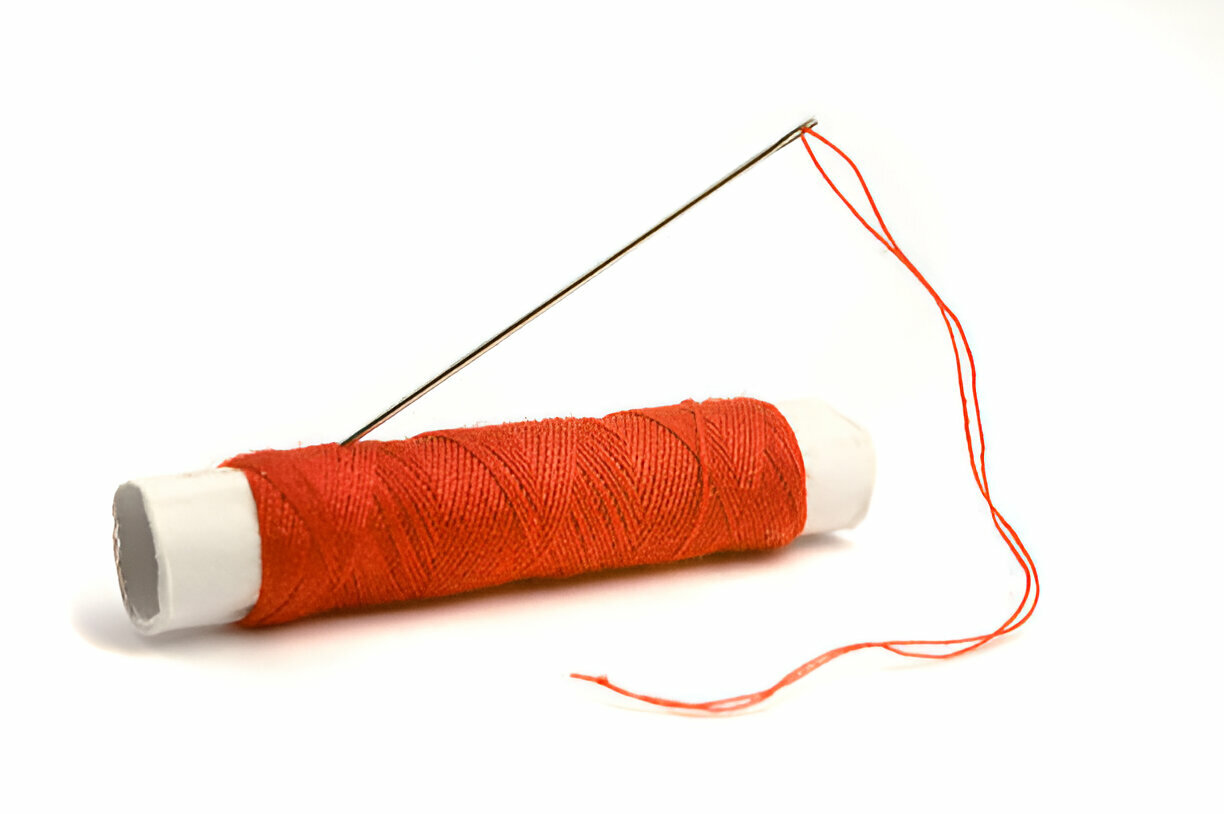
The basic knot – Start by threading your needle and leaving a few inches of extra thread at the end. Then simply tie the two ends of the thread together by forming a small loop and pulling one end of the thread through it. Pull the knot tight to prevent the thread from slipping back through the fabric as you sew. It is ideal for handling sewing hems and making small repairs but the only downside of this knot is that it may not be strong enough for heavy-duty or high-stress areas. This is the reason you may consider using a more secure knot like a double knot for such situations.
The Double knot – This is especially used when you are working with fabrics such as denim. To tie this, repeat the same process as we did in the case of a basic knot only the addition is to knot it again at the same place. This will ensure that the thread won’t unravel easily and will provide stability for your stitches. After tying the double knot, pull it tight against the fabric to prevent any slack, and then trim any excess thread.
This works great on pocket seams or cuffs in case of any wear and tear.
The Overhand knot – It can be used for both starting and finishing sewing projects. To create this knot, hold the ends of the thread in your hands and form a small loop. Then, pass the end of the thread through the loop and pull tightly to form a secure knot. It is slightly smaller and neater than a simple knot.
The French knot – Start by threading your needle and leaving a few inches of extra thread. Hold the end of the thread between your fingers and place the needle along the thread. Then, take the loose end of the thread, and wrap it around the needle 3-4 times. Now glide the wrapping section of the thread down towards the end of the needle, just like a coil. Once the coil is at the end of the needle. Pull the loose end tightly and secure the knot. This is ideal for fabrics like silk or chiffon where a bulky knot would be noticeable. It is also a good choice for handling sewing projects such as creating embroidery.
Once you have completed your stitching, securing your thread with a final knot is crucial to prevent your work from unraveling. There are several ways to tie the finishing knot depending on your project and thread type.
The Classic end knot – It is one of the most used and trusted knots. To tie this first, finish your last stitch and leave a small tail of thread. Now, thread the loose end of the thread through the needle’s eye and pass it through the stitches on the back of your project. This step is important because it hides the knot under the fabric making it invisible. Next form a small loop by holding both ends of the thread, then pass the needle through the loop to create a knot. Repeat the step for 2-3 times to form a secure knot. Finally, pull the knot tightly to secure it and trim any excess thread. It is perfect for hand-sewing projects like hems or mending.
The Backstitch knot – Start by taking your needle slightly backward, and inserting it into the same hole or fabric area as the previous stitch. This reinforces the stitching and prevents it from loosening over time. For extra security, you can repeat this step once or twice, slightly overlapping each stitch. Now form a small loop by bringing the needle through the backside of the fabric. Pass the needle through the loop and gently pull it tight to create a small secure knot that lies flat against the fabric.
To maintain a clean and professional look, weave the remaining thread through a few stitches on the back before trimming the excess.
The Overhand knot – Pull the needle and thread through the fabric until you reach the end of your last stitch. Form a small loop by bringing the needle close to the fabric and wrapping the thread around your finger. Pass the needle through this loop and gently pull the thread to tighten it. You can repeat the same process by making a second knot on top of the first one. This prevents the thread from slipping and provides a stronger hold.
Advise – To make a secure knot, place it as close as possible to the fabric surface, ensuring it holds the stitch firmly in place.
Tips for perfect knots:
- Leave the tiny tail to prevent knots from slipping but avoid bulkiness.
- Practicing on scrap fabric will help refine your technique before working on actual projects.
- Always try to use matching thread with the fabric, so that the knots (stitches) will be less visible.
- Weave the leftover thread through a few stitches before cutting it off.
CONCLUSION
Trying a sewing knot might seem like a small step, but it makes a big difference in the durability of your stitching. Mastering these knots will elevate sewing skills. Always choose the right knot based on your project’s need—simple knots for light fabrics, double knots for added security, and hidden knots for seamless finishes. With regular practice, you will be able to tie secure, clean knots making your sewing projects last longer and look more professional.
