How to Use a Sewing Machine?
Sewing is so straightforward, and once you go through the process, do it a couple of times- it is effortless.
In 2025, sewing is making a big comeback, thanks to DIY fashion, sustainable clothing trends and the rise of online crafts stores. Whether you are customizing thrift finds or fixing up your favourite jeans, learning to use a sewing machine gives you power and independence.
Welcome to the wonderful and creative world of sewing. I was introduced to sewing on a machine by my sister, she used to sew on her singer– for her dolls, then for me and I used to sit and watch her, slowly I started enjoying the process although at first, I was not into it.
My first prom dress was made by her on our own machine, and I helped.
You will start by threading your machine and winding the bobbin with care, as it plays a vital role in the foundation of stable sewing. These are essential for forming proper stitches. Most beginner-friendly machines follow a numbered threading system; just follow it step by step. In this guide, I am going to tell you everything I know, read it carefully & then practice, it only takes a couple of tries to get good at it.
The Sewing Process- A Beginner Guide
CHECKING THE TENSION-
First and foremost, you have to check if your sewing machine tension is correct. In most models, the tension is set around 4 for normal stitching. If the thread loops or puckers, adjust slightly and test again on scrap fabric until the stitch looks even.
CHANGING THE NEEDLE-
If your stitches are skipping, the thread is breaking, or you are working on a new fabric like denim or knit, it may be time to change the needle. Most projects do well with a universal needle, size 80/12. Always insert a new needle with the flat side facing the correct direction, usually to the back. Push it up fully before tightening the screw.
SELECTING THE STITCH-
Also, select the correct stitch you want to sew it for. Normally stitching length is set to around 2.5cm or 8 to 10 stitches per inch.
A typical straight stitch is set to a length of 2.5mm, which equals around 8 to 10 stitches per inch. It is perfect for general sewing. You can adjust the length based on fabric thickness or the type of project.
DEALING WITH THE PRESSURE FOOT-
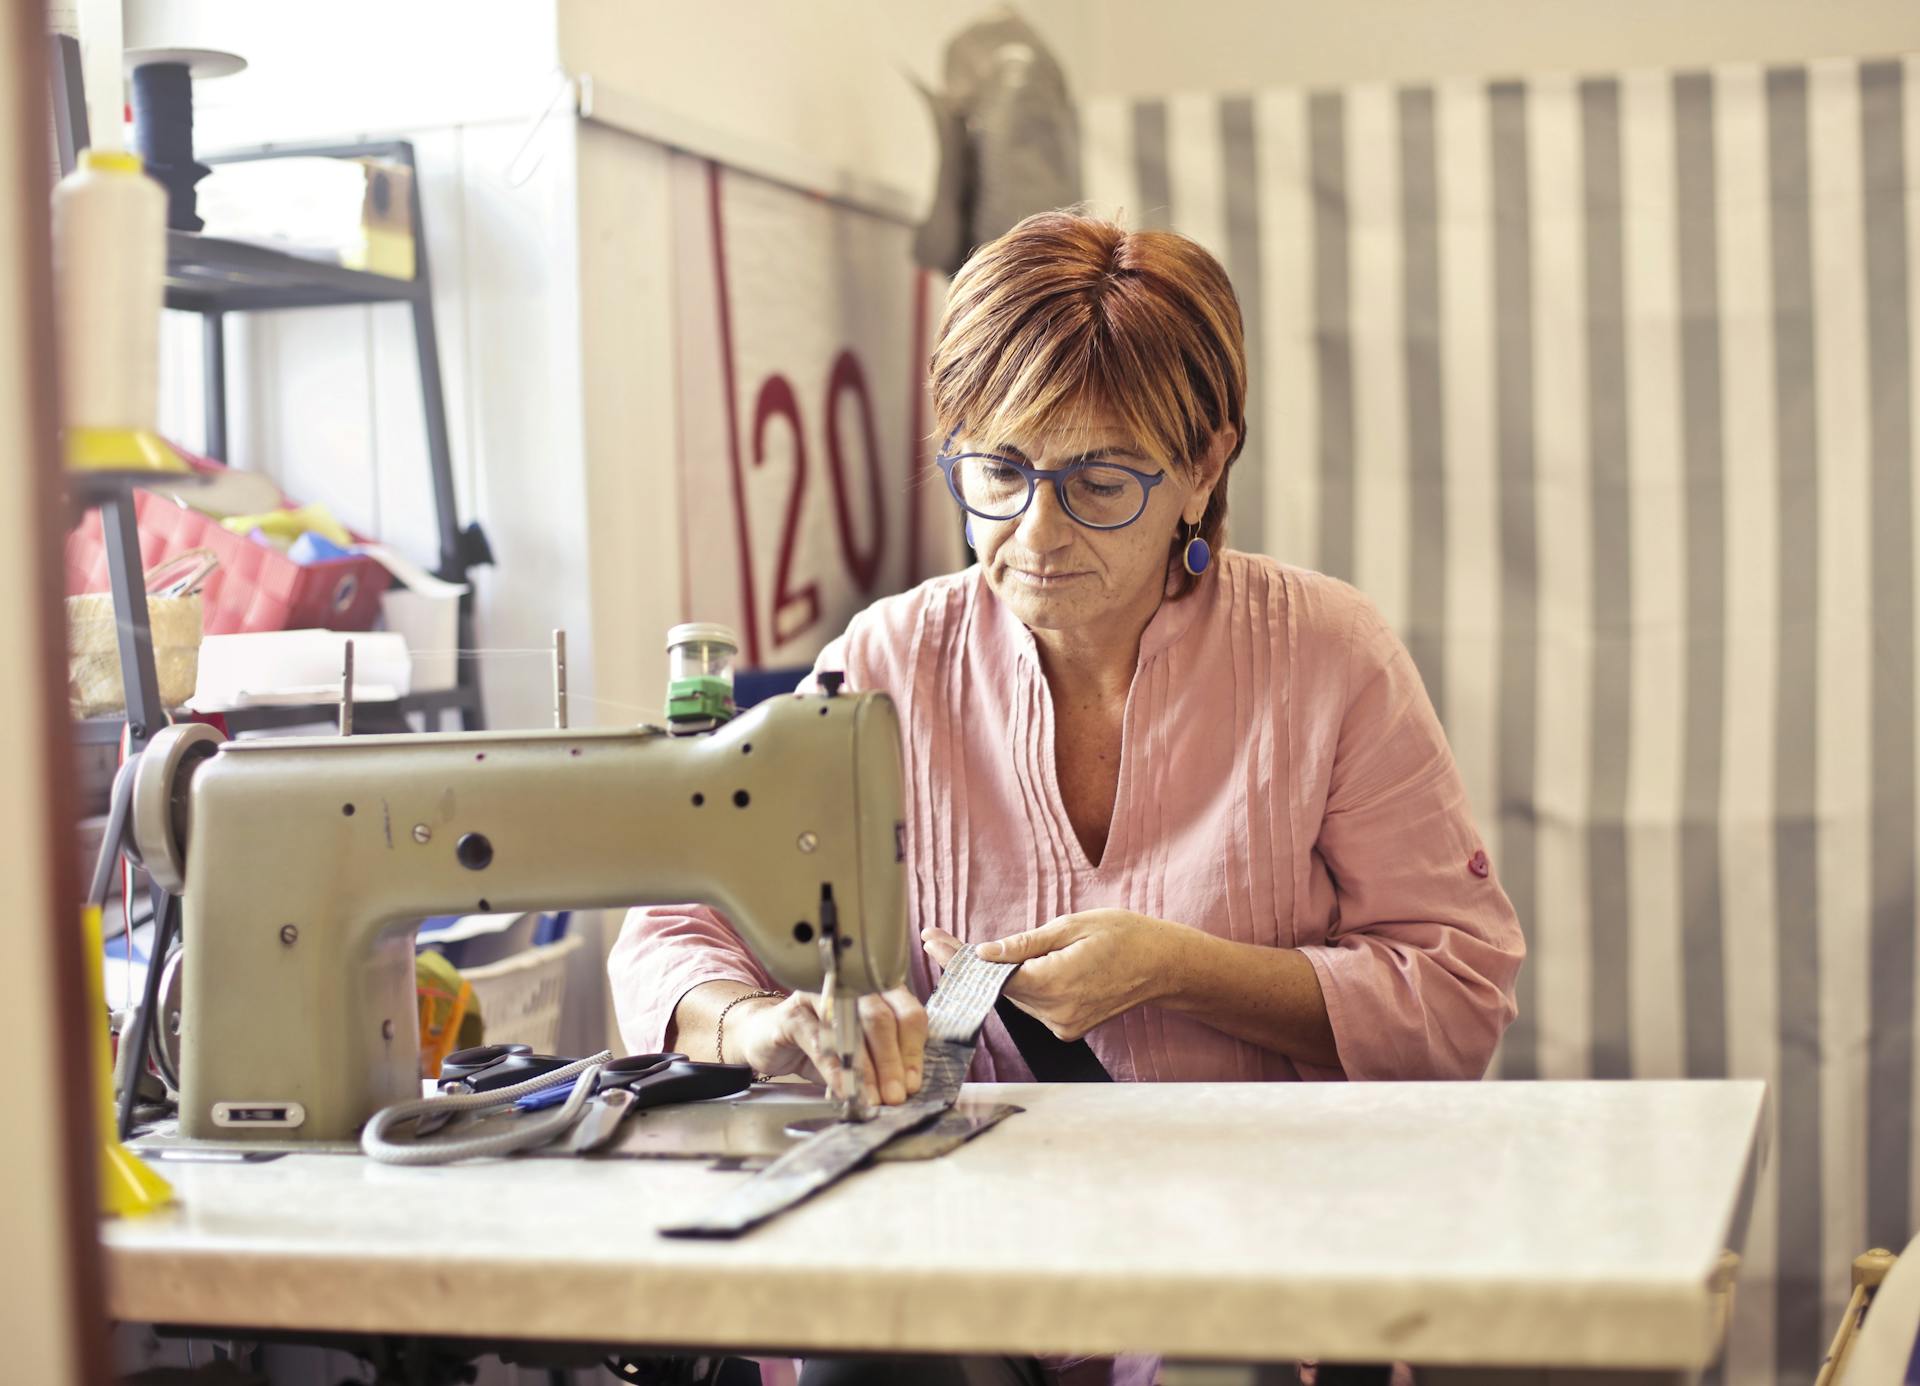
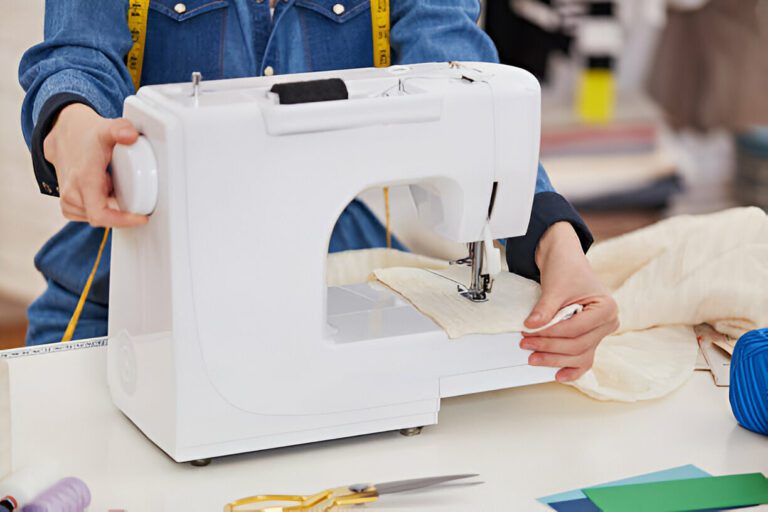
Raise the presser foot so that you can place your cloth (fabric) between the presser foot and the machine. Now place the presser foot down, hold on to the loose threads at the back of the machine, and start pressing down the foot pedal to start stitching. Mind your fingers, be careful to not poke them.
Note – Always lower the presser foot before sewing; this engages the tension system properly. Forgetting to lower the presser foot is a common beginner mistake that leads to poor stitching.
If you are new & need an introduction to these terms, I recommend you to read this guide first on parts of a sewing machine & then come back to this guide.
To secure your stitch you must use the backstitch which is also known as the reverse stitch. It is first used when you start sewing and then at the end when you finish sewing. We do it to prevent unraveling the thread, if you don’t- your seam will be undone.
How to reverse stitch? You first need to do a couple of stitches forward by stepping on the foot pedal. Stop and now press and hold the backstitch button to sew a few stitches back.
Once it is done you can continue sewing the rest of your seam forward. Once you reach the end of the sewing of your fabric, please repeat the same steps to reverse the stitch.
Note- If you are just starting, gently press the foot pedal if your model does not have a speed control setting, as it can maximize the speed and the sew may run off out of your control.
Basic threading mistakes:
- Forgetting to raise the presser foot while threading, as this keeps the tension discs open.
- Not pulling enough thread out of the needle before starting.
- Skipping the take-up lever, which is critical in most machines.
- Incorrect bobbin insertion direction.
Sewing Tools- you might need:
- A pair of fabric scissors
- Cutting Mat
- Rotatory Cutter
- Transparent Ruler
- Measuring Tape
- Seam ripper
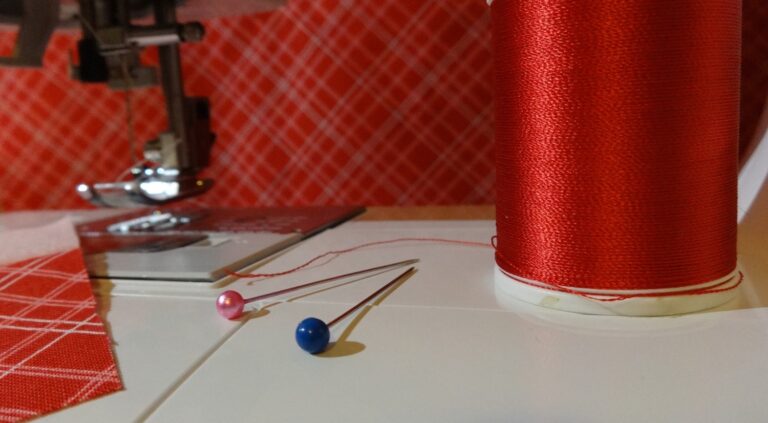
- Sewing Pins
- Sewing clips
- Magnet Holder
- Disappearing Ink Pen Or marking chalk
- Pinking Blade
Tips – You can find beginner sewing kits with all these tools in bundles on Amazon, Walmart, or JOANN under $30.
Fabric for Learning and Practicing Sewing Techniques-
CHOICE OF FABRIC-
My personal choice and recommendation is 100% cotton fabric. It is easy to work and does not stretch or slip like other fabrics. Once you are confident, you can experiment with knit, denim or delicate fabrics.
Note– One trick I have learned over the years is to always test your stitch on a scrap piece of fabric before starting your main project.
WHY I SUGGEST COTTON FABRIC-
It helps you adjust the stitch length and tension to match your fabric type, preventing common issues like puckering or loose threads. For beginners it is the most friendly & easy to learn, once you gain experience you can move on to other fabrics.
CHOOSE THE RIGHT THREAD:
For general sewing, use polyester or cotton wrapped polyester thread. Avoid low-quality threads as they break easily and can damage your machine too. Match the thread weight to your fabric.
Different 4 Types of stitches
Generally, four types of stitches are required for any project. They are:
- Straight Stitch
- Zig-zag stitch
- Stretch Stitch
- Buttonhole Stitch
There are various decorative and embroidery stitches available depending on the model type. For example-
Tips and Tricks for Improvising Sewing Skills
STARTUP WITH STRAIGHT STITCH-
Always begin with simple straight stitches to get a feel for how your machine handles the fabric. The presser foot and feed dogs help to glide the fabric, so do not pull or push yourself.
Note– Pulling and pushing the fabric may cause uneven stitches and even the needle can break.
USAGE OF SEWING PINS-
Use sewing pins to hold the fabric together in place and then put the fabric beneath the presser feet and slowly stitch the straight line by gently removing the pins once you reach nearer to it.
Troubleshooting table:
| Problem | possible cause |
| Skipping stitches | Bent or dull needle |
| Thread bunching | Incorrect threading or tension |
| Fabric not moving | Feed dogs not raised |
| Machine not sewing | Presser foot up or bobbin empty |
DIFFERENT TYPE OF PRESSURE FEET-
- Zig-zag foot – It is the main pressure foot and is perfect for sewing. The distance between the needle and the edge of the presser feet is about ⅝” or 1.5cm. It is the perfect seam allowance.
- Buttonhole foot – It has a unique mechanism where you can place the button at the little section at the back, lower the stabilizing arm, and set your machine accordingly to a buttonhole stitch that will be perfect for your button.
- Zipper foot – It is required when you sew zips to your clothes. It can be positioned on the extreme left or right side of the zip liner, depending on which side you are stitching.
Depending on the model type, 5-7 presser feet are available in most sewing machines.
SQUARE AND RECTANGLE STITCHING PROCESS-
- A beginner tip when you sew a square or rectangular project as you reach one corner or end of the straight line you need to turn around.
- Stop and lift your foot off the foot pedal to stop sewing.
- Use the handwheel to place the needle back into your fabric, raise the presser foot, turn the fabric around, lower the presser foot back into place, and continue sewing to the other side to get a perfect stitch.
BASIC TIPS FOR SILK OR SATIN FABRIC-
It is a little advanced but valuable to share if you are working with fabrics like silk and satin which are slippery. A trick that I have learned from my granny that saves me countless times is to use tissue paper underneath the fabric to add a bit of grip that can be easily torn away after stitching is completed.
BASIC MAINTENANCE-
Dust and fabric lint build up quickly. Use a small brush to clean around the bobbin case and feed dogs regularly. Avoid oiling unless your manual specifically says to, and always unplug the machine when not in use or while doing maintenance.
If you have any questions regarding sewing, or you are experiencing some problems in your journey, I am here for you. Please write to me in the comments below and I will make sure to help you out. This is why I have spent 15 years stitching, helping you is an honor.
See you in the next guide.
One Comment