What is Basting in Sewing? (6 Types Explained)
Basting is a crucial step in stitching that should not be skipped. From my experience basting ensures a smooth and accurate sewing process. It is a temporary process of holding several layers of fabric in place, allowing for smooth sewing and fitting of the project. It also helps you to rank your sewing skills and results. My sister taught me to do basting before sewing.
Reason – Without basting, fabrics can shift, twist, or pucker leading to frustrating mistakes and rework.
By taking time to baste, I have found that my stitches were more even, my seams lay flat and my finished projects looked professional. It was like a game-changer for me. Once I mastered hand and machine basting it transformed my sewing experience.
Purpose – Stitching on zippers, making a pocket for any garment, creating flayers in dresses, making patterns for quilting, patch attachment, attaching the collar to a shirt, and many more.
Note – Basting saves time, and energy and protects your project from being ruined.
There are several types of basting, each with its unique purpose and application.
- Hand basting
- Pin basting
- Spray basting
- Gun basting
- Glue basting
- Machine basting
-
Hand Basting
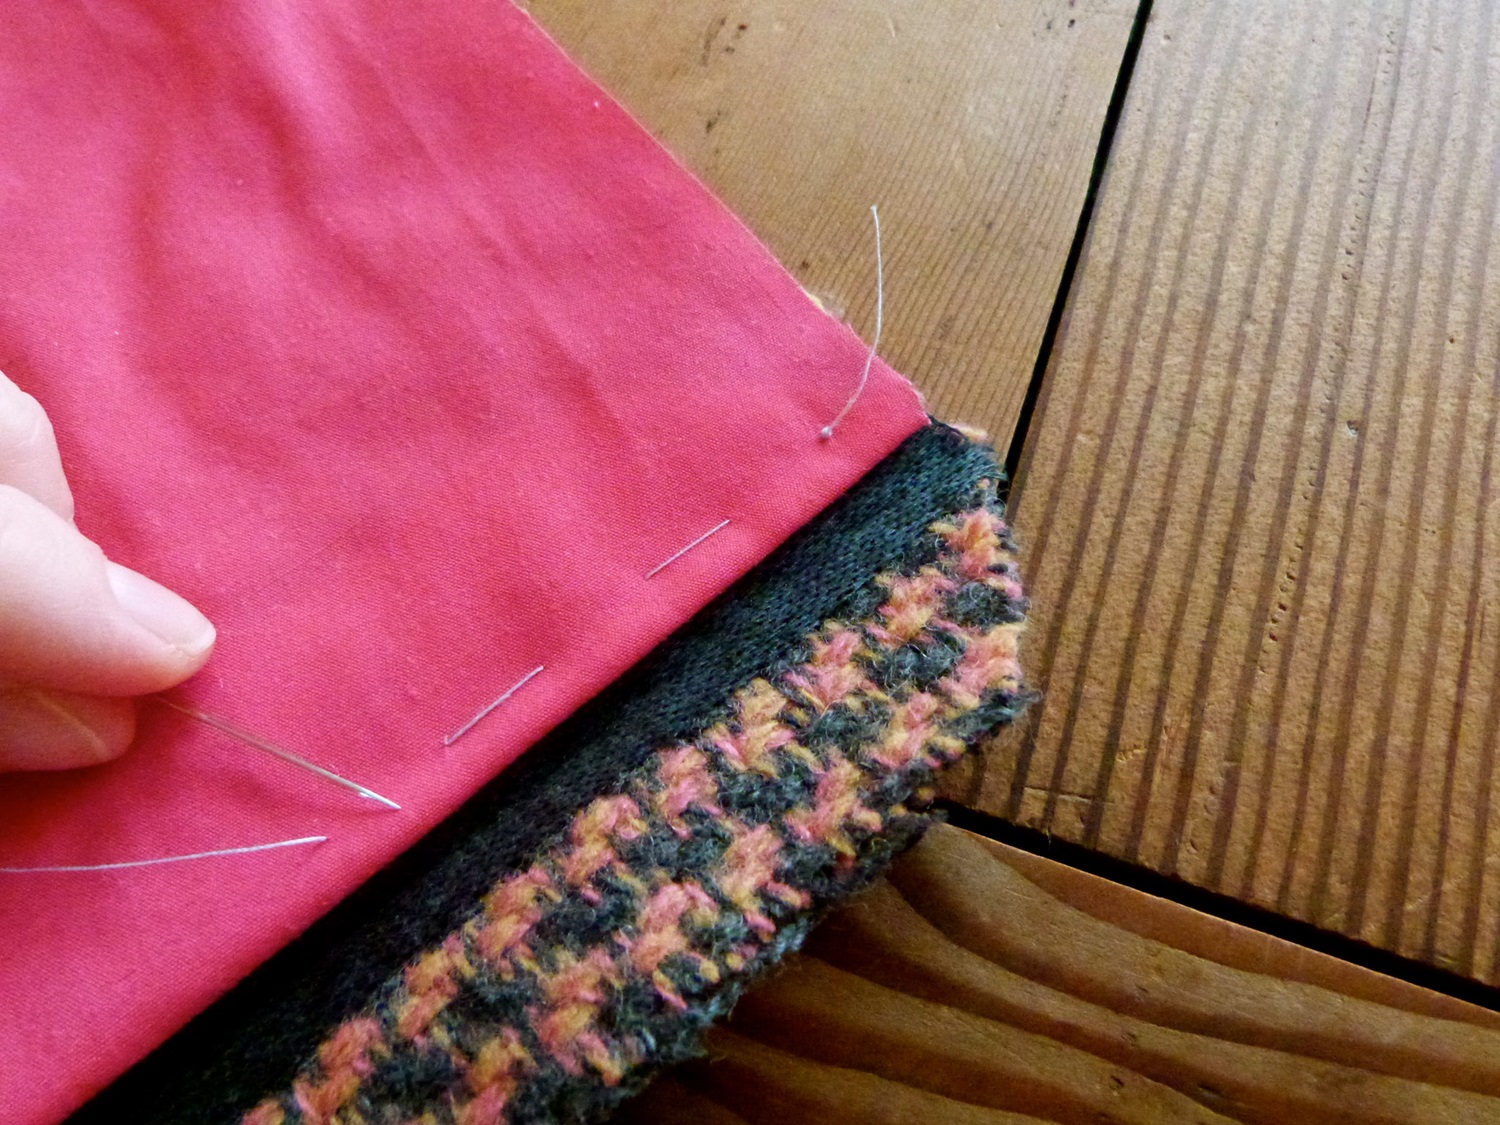
Putting several layers of fabric together with the help of a hand-sewing needle and thread. It is the most common type of basting.
Process
First thread a hand needle preferably thin and long, then hold the pieces of fabric desired to be basted together. Push the needle through the fabric and back to the surface at regular large intervals. No need to knot the ends of the thread as you need to rip them off after the final stitch.
Tips – Always use a cotton thread with contrasting colors if the basting stitch is not hiding in the permanent stitch. This will help locate the thread easily while removing it.
Best to use
On fabrics that are difficult to manage while stitching like gorgette, satin, chiffon, velvet, knotty, or textured fabrics. While stitching curved edges and turns.
-
Pin Basting
The process of using safety pins to put the layers of fabric together. This method is used especially to hold quilt sandwich basting. You can also use straight pins.
Process
Unlock the safety pin, pears it through the fabrics push it back to the surface, and lock it.
Tips – Always pin to the right side up, so that the pin can be removed easily while stitching. Never try to hold a lot of fabric beyond the holding capacity of the pin, this will create unwanted wrinkles in the fabric which will disturb the stitching process.
Best to use
In quilting, setting pleats and tucks, attaching flare to a dress.
-
Spray Basting
Use a temporary adhesive spray to stick the layers together for basting. It is best used for large projects.
Process
Spread the pieces of fabrics on a flat surface making sure there are no wrinkles or lumps on cloth. Then spray the adhesive equally all over the area to be basted.
Tips – Do this process in a wide-open space to avoid the stray sticking to your furniture and other objects in the room.
Best to use
In large quilting projects, padding, and applique work. Even in rug mugs and potholders.
-
Gun Basting
Plastic pins are tucked into the layers of fabric to be basted with the help of a basting gun or tagging gun.
Process
Hold on to the fabric with one hand, place the gun very close to the fabric, and trigger the gun in the desired place where you want to pears the plastic pin.
Tips – Always do basting keeping your finger at a safe distance, or you will end up hurting your finger.
Best to use
In quilting, craft making, doll dresses, etc.
-
Glue Basting
Sticking the basting fabric with fabric glue.
Process
Place the backside of the fabric first apply a thin layer of fabric glue, place the top fabric, and then press the layers together for a moment until it sticks.
Tips – Use this process for small projects, handling the fabric will be easy and comfortable.
Best used for
Zippers, binding, small applique, curved seams, patch attachment.
-
Machine Basting
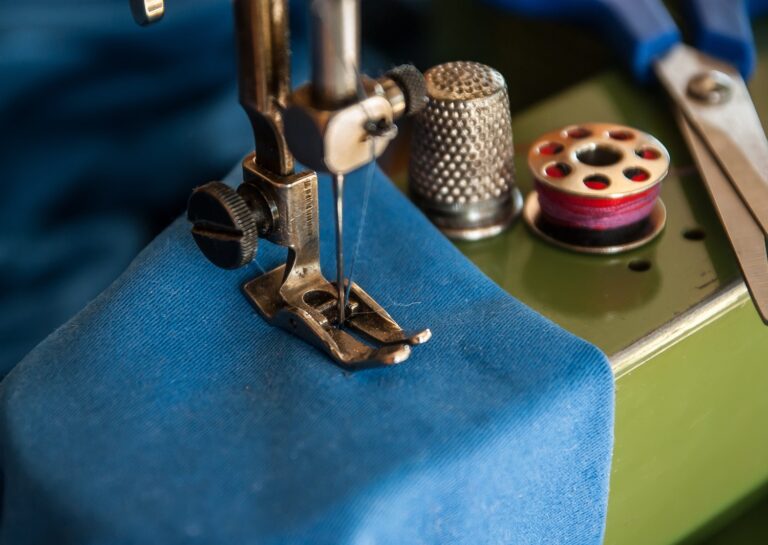
It is the process of holding the layers of fabric with the help of a sewing machine. It
can quickly and efficiently baste large areas of fabric.
Process
Hold the layers to what to baste. Lift the presser feet and place the fabric. Pull the lever down to secure it. Go to the stitch menu, select straight stitch mode, adjust the stitch length to the maximum (4-5 mm depending on your model), and start sewing. Always keep ¼ inch seam allowance while basting.
Tips –Always use a walking foot (presser feet used for quilting) for basting stitch. Use cotton or silk thread for basting with a machine because ripping the thread will be easy. Do not use the back stitch at the beginning or end of the stitch as it will make the ripping difficult.
Best used for
Large projects like blankets, gathering techniques, or under-hiding basting(the basting stitches that get hidden under the permanent stitches).
Tools and accessories for basting:
- Hand-sewing needles
- Cotton thread
- Safety pins or straight pins
- Basting spray
- Fabric glue
- Tagging gun
- Sewing machine with adjustable stitch length
- Walking foot (applicable for machine basting)
Tips – Most of these tools are available online on Amazon and Walmart.
Here are a few current best practices for basting. Whether you are quilting, tailoring or crafting, these tips are meant to help you avoid beginner difficulty and keep your projects stress free.
Basting on curved seams – For tricky curved seams like princess seams, collars, and armholes, hand or glue basting gives you better control and clean results. This is especially helpful for fitted garments or delicate shaping.
In today’s sewing culture, basting also supports the slow sewing movement, where precision and quality matter more than speed. It’s a small step that adds long-term value to your handmade clothes.
If you are working with patterned fabric, basting helps you line up prints or stripes exactly, preventing mismatched seams and giving your project a clean, professional finish.
I have updated tips that reflect current sewing practices, especially helpful if you are diving into new types of projects. As always, it’s practice, patience, and the right prep that lead to polished results.
Pros and Cons:
| Basting Type | Pros | Cons |
| Hand Basting | Great control on curves | Time consuming |
| Pin Basting | Fast and reusable | Can create puckering if misused |
| Spray Basting | Appropriate for large quilts | Can be messy or sticky |
| Gun Basting | Good for craft and very fast | Not at all suitable for fine fabric |
| Glue Basting | Accurate for zippers and applique | Not for large projects |
| Machine Basting | Fast and strong | Need proper machine settings |
Conclusion
Basting seems very time-consuming and boring but believe me it is better than ripping off the finished project that you have ruined with the wrong stitches, shape, or sizes. Basting not only ensures better fittings and finishing but, also gives your project a professional look.
By understanding the different types of basting and their applications, you will be able to handle and tackle any sewing project with confidence.
So, I always recommend basting every project before you start to sew. Experiment and combine different methods to achieve the best results.
In this article, I poured in all the knowledge and experience I gathered in my so many years of sewing journey. With practice and patience, you will become a sewing rockstar!
