A Guide To Prepare Your Fabric Before Sewing- Ensures Product’s Quality
When I was new to sewing and practising with some small projects, I ruined a lot of fabrics because I didn’t know I had to prepare it before I start any project. When I joined the fashion designing class, my teacher taught me the basics of preparing the fabrics to get a high-quality finished product that I can actually use.
Some of my friends still ignore this and their finish looks very poor. I don’t want you to make the same mistakes and I recommend following this guide for a better product when you complete your project.
It is an essential part of my sewing process and even today, I don’t start any project without following these things.
1. Prewash your fabric
Prewashing or pretreating the fabric is an extremely important step for a perfectly finished product. There are a couple of things you need to know before you proceed.
Why is this step important?
1. Fabrics, especially made out of natural fibers such as cotton, linen and wool are prone to shrinking. Pre-washing ensures it doesn’t shrink after you complete the project.
2. During the manufacturing process of fabric, it goes through various sizing agents and chemical finishes. Prewashing lets you remove such things and gives you a clean fabric to work with.
3. When vibrating or deep color fabric gets exposed to water, it shows its colorfastness. This allows you to take precautionary measures to preserve the appearance and color of the fabric.
4. Some stiff fabrics such as denim or canvas may soften by washing it before sewing and this will help drape the garment beautifully and improve its look pleasing to eyes.
Do I need to pre-wash every fabric?
No. Some fabric requires washing mainly because of shrinking and washing out excess dyewashing out excess dye. Some fabrics are pe-washed and are ready to be used immediately.
Fabrics that need to be pre-washed are; Batik fabric, Cotton, Linen, Rayon & Viscose , Jersey or Ponte, Seersucker and Voile.
Fabrics you can skip washing are; Polyester, Nylon, Spandex, Silk, Velvet, or any similar one with a shiny finish.
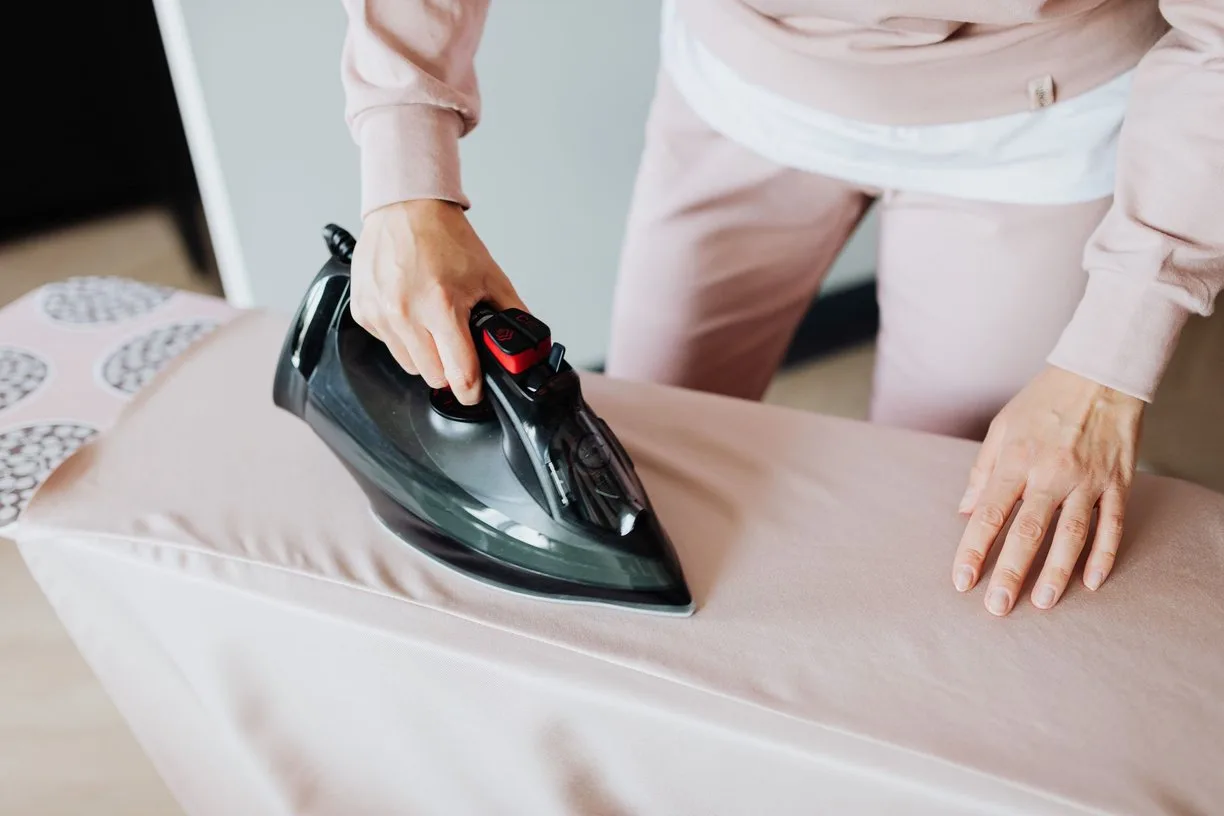
2. Iron/ press your fabrics
After pre-washing, the next thing I do is, iron the fabrics.
With proper ironing, you ensure that:
There are no creases, wrinkles, or buckles.
The fabric gets in the right shape for the project.
Easy to work with.
3. Check If the grain lines are distorted
The two most popular fabrics i.e knits & woven fabrics have different structures.
Knits are made by interlocking the continuous loops of the yard using needles and don’t have any grain lines.
The woven fabrics are made from yarns that are interlaced at the right angles and are known as the fabric grains.
The horizontal interlacing is called “warp” also known as lengthwise grain. The vertical interlacing is called “weft” aka, crosswise grain. When they are manufactured, these grains get distorted in most cases and it causes issues while sewing and you may not be able to create a high-quality product.
To check if the grains are distorted, fold the fabric in half matching the salvage edges together and lay it on a flat surface. If you notice any bubble, it means the grains are distorted.
Here’s how to fix it:
Pull the fabric along opposite diagonal edges.
Press it with an iron.
Leave it on a flat surface for a couple of hours to cool down.
If the bubble is still there, repeat the same steps until it is gone.
4. Check If your fabrics need extra stability
Depending on the material and application, you need to double check If the fabric needs the added stability. In most cases, the pattern you are about to try may have already mentioned everything; however, if you were to reinvent on your own, you’ll have to figure out if you need some extra stability for the project.
Before fusing the fabric, it is always recommended to read the manufacturer’s guidelines for a better idea.
5. Identify the right side of the fabric
There are two sides of any fabric i.e. right side and left side, also known as wrong side. The right side appears on the outside whereas, the left side will be there inside.
In most cases, you’ll be able to identify the right side easily. For example, smooth fabrics are shinier and softer on the right side, printed fabrics will be more vibrant on the right side etc.
Some fabrics may look identical on both sides and you can set either side as the right side on your own.
It is a crucial step I follow because choosing the wrong side while sewing may impact the look of the finished project.
FAQs
1. Is it best to prewash fabric before sewing?
Yes, it is always a good idea before you start sewing because it prevents shrinking, removing excess dyed color and realigns the fabric grain. You can skip specific fabrics like Polyester, Nylon, Spandex etc as those are pre-washed.
2. What happens if I don’t prewash fabric?
If you skip prewashing, the finished project may look uneven or distorted, can cause unexpected shrinkage and could cause color bleeding.
3. What are the steps in preparing fabrics?
* The first step is prewashing the fabric.
* Next, press the fabric with iron.
* Identify the right side of the fabric and check for distorted grain lines.
* Double check If your fabric needs extra stability.
Take some extra time before sewing
Many beginners or even some experienced sewers get excited after purchasing a piece of fabric and start sewing immediately. It may cause serious issues to the project and even I’ve done the same thing at the start of my career.
My mentor taught me to be patient at this stage and prepare my fabric fully with the 5 steps I’ve discussed above and this helped me get a high-quality finish for all of my projects. If you have any doubts or questions about these steps, I’ll be happy to assist you. Cheers!