10 Different Use Cases Of Sewing Gauge You Never Knew
Before I joined the fashion designing class, I did not know the sewing gauge seam gauge can be used more than just hemming. I was missing out on its other uses for a very long time after I saw my friends using it for various purposes. If you are also using it for just hemming and curious to know how to make the most of it, I can help you with that. I’ve listed 10 effective ways to use this handy tool to make your sewing much smarter and easier.
Before that, I would like to briefly talk about this tool.
What is a sewing gauge?
It is a tiny ruler about 6-inches long that can be used for any measurement for accurate sewing. One side of the ruler offers the measurements in inches (from ⅛ of an inch to 6 inches) and centimeters (up to 15 cm) on the other side. A sewing gauge is also known as seam gauge and hem gauge.
Some models mention every inch whereas others include half-inches as well. It is an inexpensive tool that costs under $10 and is commonly used by many sewers.
How do I use a sewing gauge?
1. Repeated measurements & Hems
For repetitive tasks like measuring a square, I simply set the size on the gauge and use the same measurement until I mark all the 4 sides.
For accurately finding the finished hem length, I use the seam gauge as a mini ruler rather than a tape measure because of the metal part it contains.
2. Marking Seam Allowances
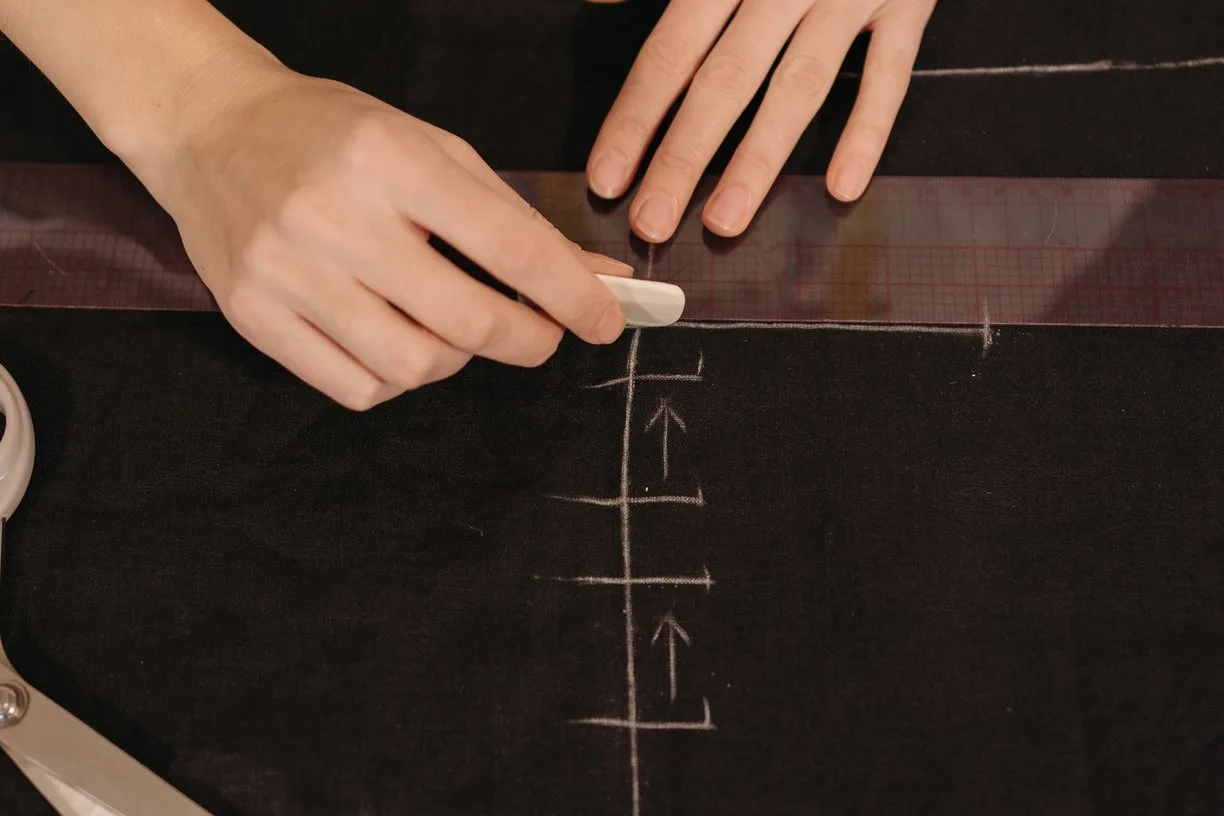
The standard width of a seam gauge is 5/8 inch (or about 1.5 cm) and it is also the most common size of seam allowance in dressmaking. For a consistent marking, you can use the width area of this tool. For home projects, I use the slider to mark the sizes.
One of my friends suggested using it for this purpose and since then, I haven’t used any other tool for it.
3. Buttonholes & spacing
First I use the notches in the gauge to mark the buttonhole placements. Next, I insert the button inside the gauge to find out the width. Finally, I use the marking slider and top notch area of the gauge for marking the width.
For a clear measurement, I use different colored pencils/ pens to mark the buttonhole and the width that helps me sew it without any confusion.
4. Measuring points
With a seam gauge, you can easily mark the starting and the closing pockets of any sewing projects. Whether I need to sew a patch pocket or any other thing, I make sure to use this to mark these important points before I begin the project.
5. Making Bias Binding
For making bias binding using the seam gauge, here’s what you need to do:
1. Fold into two halves of the fabric.
2. Lay the gauge on the top.
3. Insert pins in both holes of the gauge.
4. Pull out the fabric and press it.
5. Fold the fabric piece again in half.
6. Attach the fabric in the garment for sewing and that’s it.
For a long time, I didn’t notice the tiny holes in the seam gauge and the above hack was taught by my teacher in my designing class. It helped me make bias effort effortlessly.
6. Marking Pleats & Tucks
For making neat pleats, you can use the gauge to mark the points which makes it easier to sew. For example, for a 1-inch pleat with a half-inch space, use the gauge for a 1-inch placement with one color and then use a different color for the folded lines. It works perfectly alright for any type of pleats.
The same rule applies for tucks as well. It is narrower than pleats and gives accurate measurements. Just mark the edges of the tuck with the gauge having the same width and the space.
The gauge ensures every pleat width and tucks are the same and the spacing is even to make it look highly professional.
7. Using as straight edge
A simple yet a useful hack most people ignore or forget is, using the seam gauge as a ruler. The straight edge of the gauge exactly works like it and with the measurements marked, it makes it much easier. I use the gauge this way all the time and it works perfectly fine.
8. Turning out corners
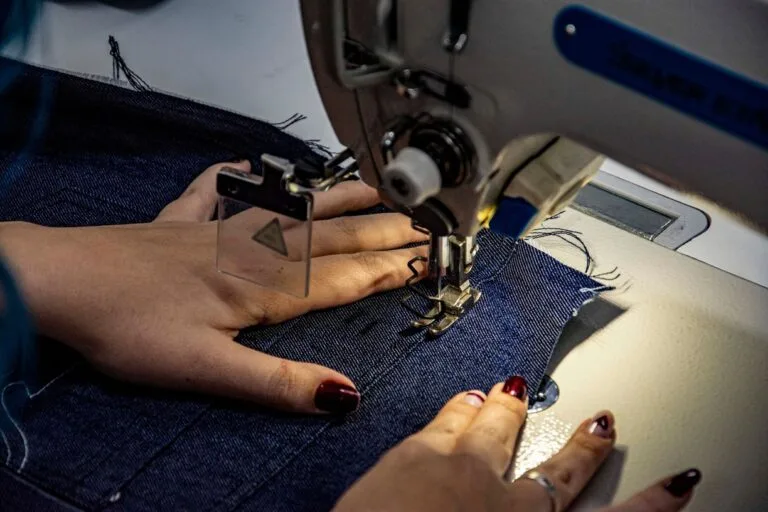
I’ve struggled with the corners of the fabrics multiple times until I was advised by my friend to use the small triangle part of the sewing gauge to turn out the corners. If you sew fabrics with corners, this little hack might save you a lot of time.
9. Measuring Waistband
Here how do I it:
1. Place the piece of fabric in a flat area (table, sewing machine etc).
2. Fold the fabric and set the measure on the slider of the gauge.
3. Place the gauge on the fabric and accurately measure it.
4. Use the pin to mark the measurement in the fabric on all sides and that’s it.
It is a simple yet effective way to measure the waistband which I’ve been following for a long time.
10. Quilting
As a quilter, I’ve used this tool for ¼” seam allowance, squaring quilt blocks, pushing out crisp corners and more. It may not be the must have tool for quilting but it does help in many applications of this craft.
FAQs
1. Is a sewing gauge necessary?
No, it isn’t. However, having it for performing repetitive measuring helps a lot.
2. What do you do with a sewing gauge?
It can be used to measure hems, marking seam allowances, buttonholes and more.
Do not miss out on sewing gauge
A sewing gauge has many hidden capabilities which many people haven’t figured out yet and I’m sure you are one of them. You can use this guide to take the full advantage of this sewing tool. Share this with your sewing friends or family who may find it useful. Cheers!